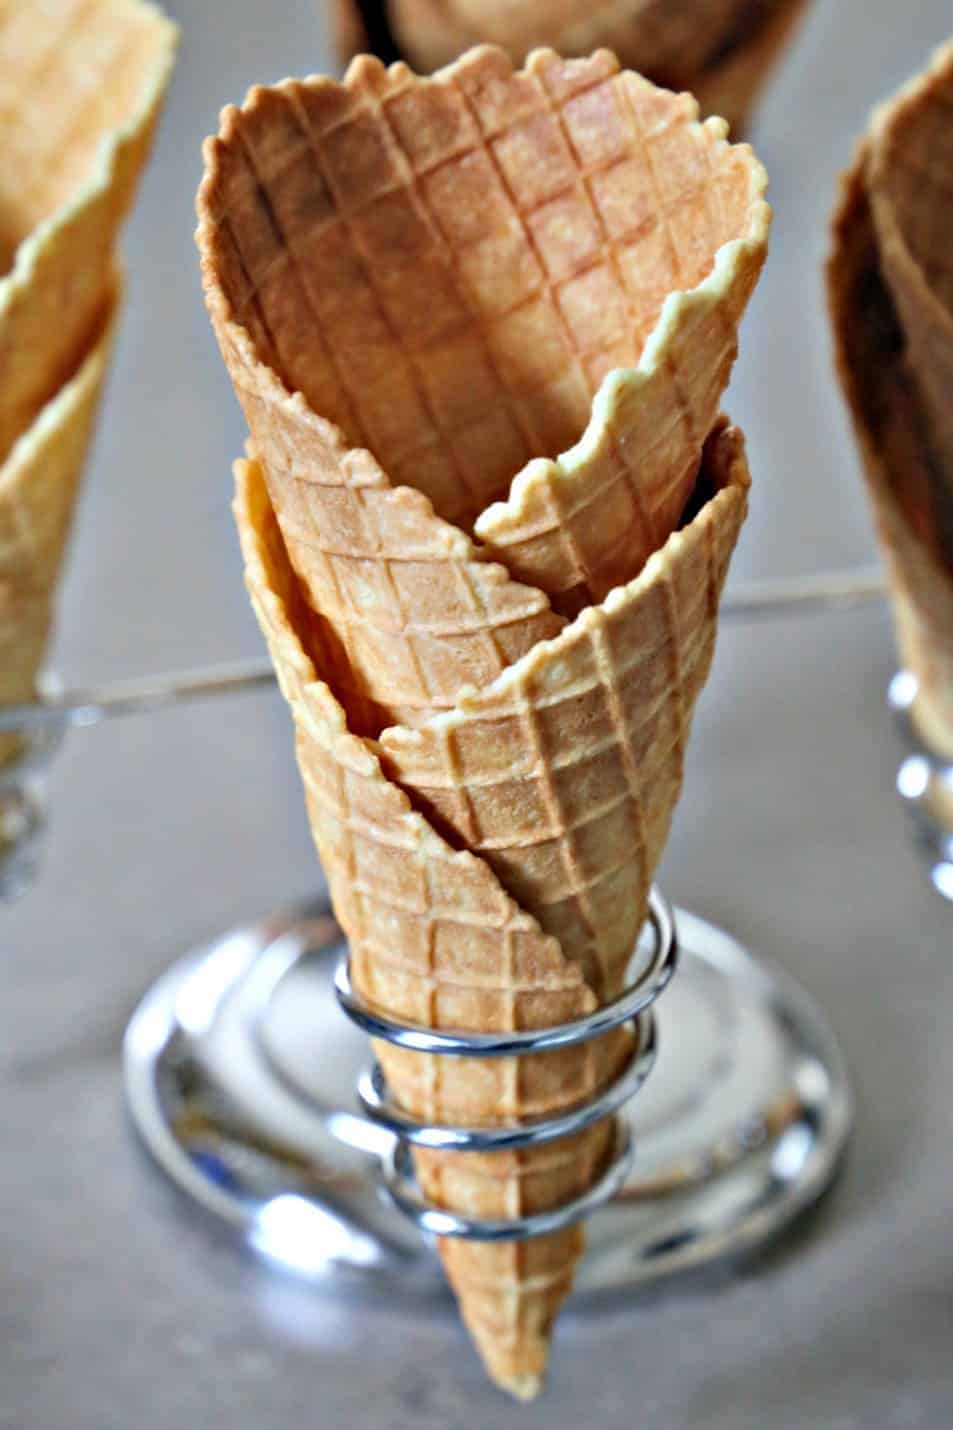
Homemade Coconut Waffle Cones
Making homemade waffle cones is easier than you might think — and they’re a fun way to take ice cream night up a notch. These gluten-free waffle cones are made with simple ingredients and come together quickly, making them perfect for special treats, summer desserts, or anytime you want to make ice cream feel a little extra special.

One of the best parts of making waffle cones at home is having full control over the ingredients. This recipe uses a blend of gluten-free flours and shredded coconut to create a cone that’s crisp, lightly sweet, and sturdy enough to hold your favorite scoops.
Why Make Waffle Cones at Home?
- You control the ingredients.
- Freshly made cones have better texture and flavor.
- They’re fun to make and even better to eat.
- Perfect for customizing with chocolate dips or toppings.
The hardest part isn’t the batter – it’s learning how to roll the cones while they’re still warm. Once you’ve done a couple, it becomes second nature.
This recipe was tested using the Chef’s Choice Wafflecone Express 838.

Ingredients
For this delicious gluten-free waffle cone recipe, you need the following ingredients:
- Butter, melted and cooled
- Sugar
- Vanilla extract
- Almond flour
- Arrowroot flour
- Coconut flour
- Shredded coconut
- Salt
- Eggs
Instructions
- In a medium bowl, whisk together all ingredients until the batter is smooth. Let the batter rest for 5 minutes—this step is important for proper texture.

- Heat your waffle cone maker or waffle iron according to the manufacturer’s instructions. Scoop a small amount of batter onto the hot surface and cook until golden.
- As soon as the waffle is done cooking, remove it and immediately roll or shape it into a cone while it’s still hot. Work carefully—the waffle and the iron will be very hot. Allow the cone to cool completely so it holds its shape.

Helpful Tips for Success
- Adjust heat slightly if cones brown too fast or too slowly
- Don’t skip the resting time for the batter
- Work quickly when shaping the cones
- Start with smaller waffles until you get the hang of rolling
Storage Tips
- Avoid refrigeration, which can soften the cones
- Store cooled waffle cones in an airtight container at room temperature
- Best enjoyed within 1–2 days for optimal crispness

What to Fill Your Waffle Cones With
Homemade waffle cones pair perfectly with ice cream, and there are plenty of great options to explore on Southern Kissed. Chocolate Ice Cream is rich and classic, Cookie Dough Ice Cream adds a fun, nostalgic twist, and Homemade Vanilla Ice Cream is always a favorite. For an even easier option, No-Churn Vanilla Ice Cream is a great choice when you want something simple without sacrificing flavor.
Homemade Coconut Waffle Cones
Ingredients
Method
- Place ingredients in order listed in a medium sized bowl and whisk until smooth. Allow batter to rest for 5 minutes.
- Heat waffle iron. Scoop batter onto waffle iron and bake per manufacturer’s directions.
- Remove from waffle iron and roll or form into desired shape while still hot.
Nutrition
Video
Tried this recipe?
Let us know how it was!Last Bite
Homemade waffle cones are a fun way to make ice cream night feel a little more special. Leave a comment below and tell me what flavor you filled yours with—or if you dipped the cones in chocolate for extra fun.
Does the shredded coconut need to be the tinier “grated” shreds or the long shreds? Also, do you recommend the sweetened or unsweetened coconut?
I recommend the smaller shreds and I like to purchase unsweetened.
this would be DANGEROUS in our house! We LOVE waffle cones!