Easy Strawberry Popsicles (3 Ingredients!)
These homemade strawberry popsicles are a breeze to make with fresh berries, a splash of juice, and a little sweetness (if your strawberries need a boost). No artificial dyes, no preservatives – just a handful of real ingredients and a little freezer time.

There’s something pretty satisfying about blending up a few simple ingredients and turning them into a frozen treat that tastes like actual fruit – and not a bottle of red #5.
Whether you’re trying to cool off in the summer heat or just looking for a cleaner snack to keep on hand, these popsicles are an easy win. You can even get creative with the flavors if you’re feeling fancy.
Ingredients You’ll Need
This one’s short and sweet—literally. All you need is:
- Fresh strawberries – ripe and flavorful are best
- Juice
- Sweetener (optional) – agave, honey, maple syrup, or sugar
- Popsicle molds – or small cups with sticks
No gums, stabilizers, or weird ingredients – just good, simple stuff.

Step-by-Step Overview
Here’s how it comes together:
- Rinse and hull the strawberries.
- Blend with juice and sweetener (if needed) until smooth.


- Pour the mixture into molds.
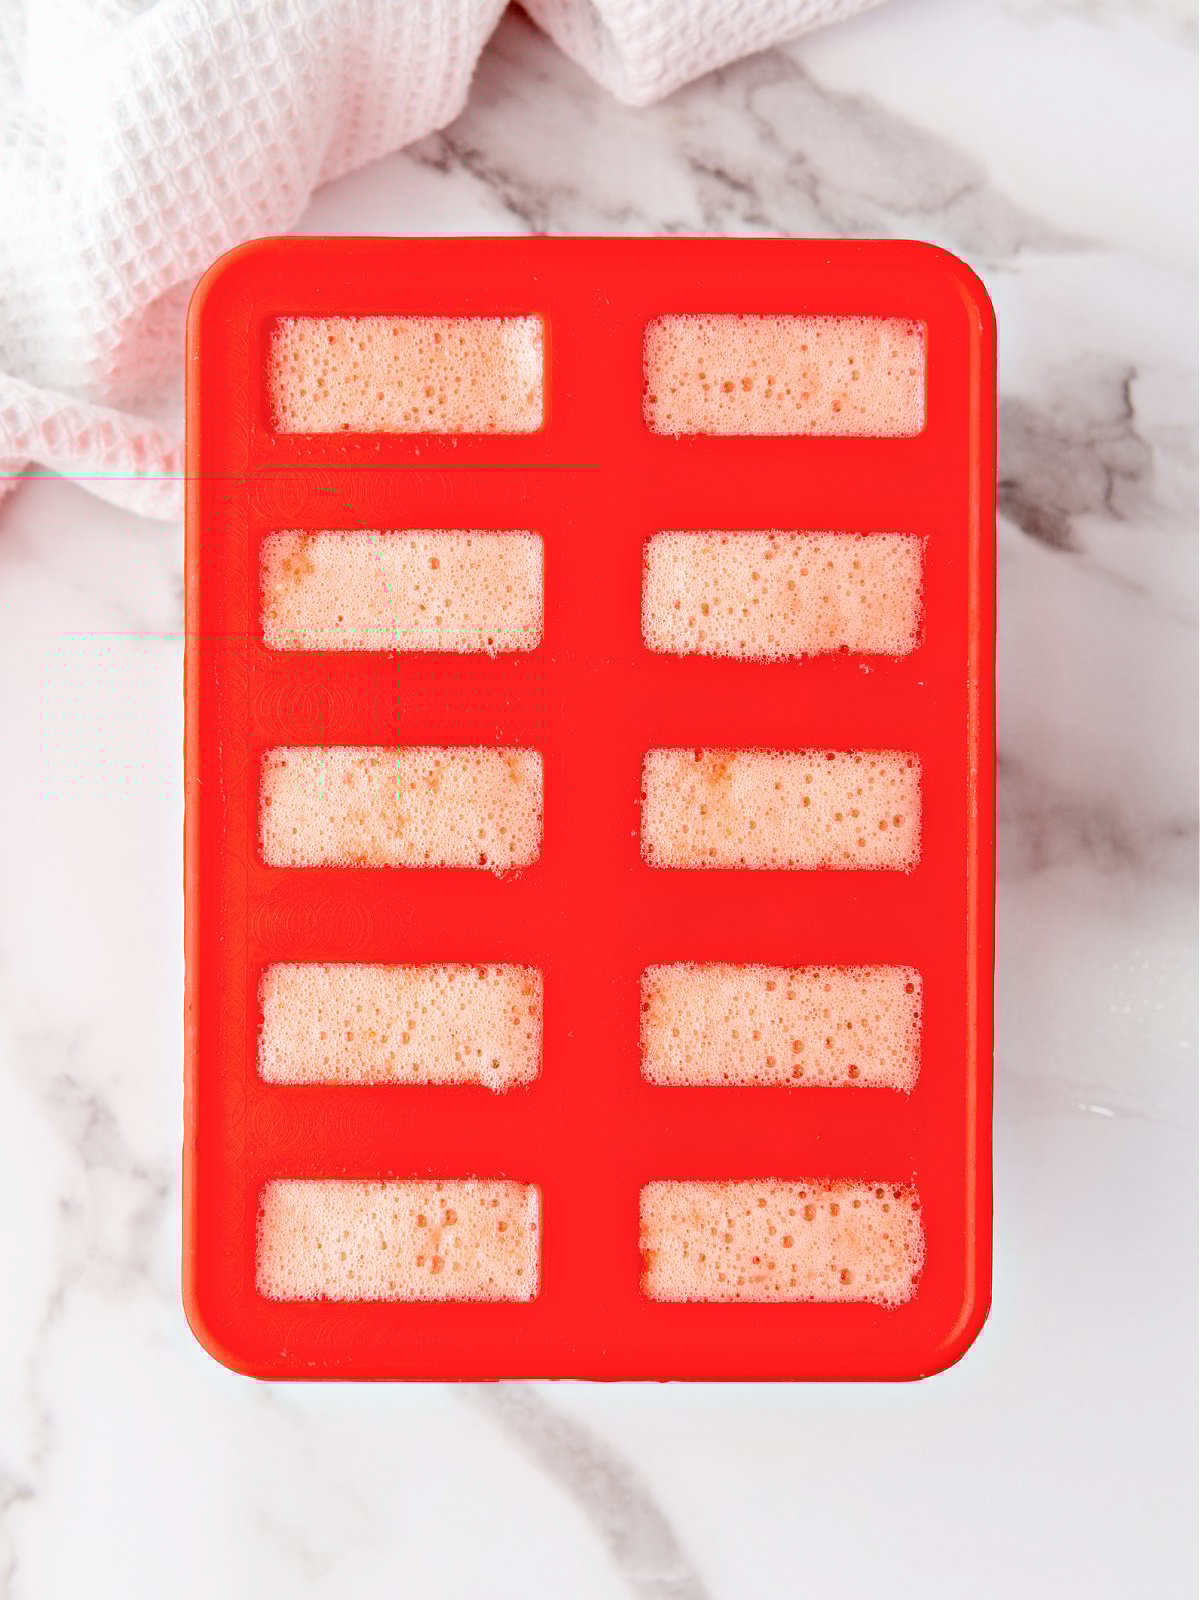

- Freeze for a few hours until solid.
- Unmold and enjoy!
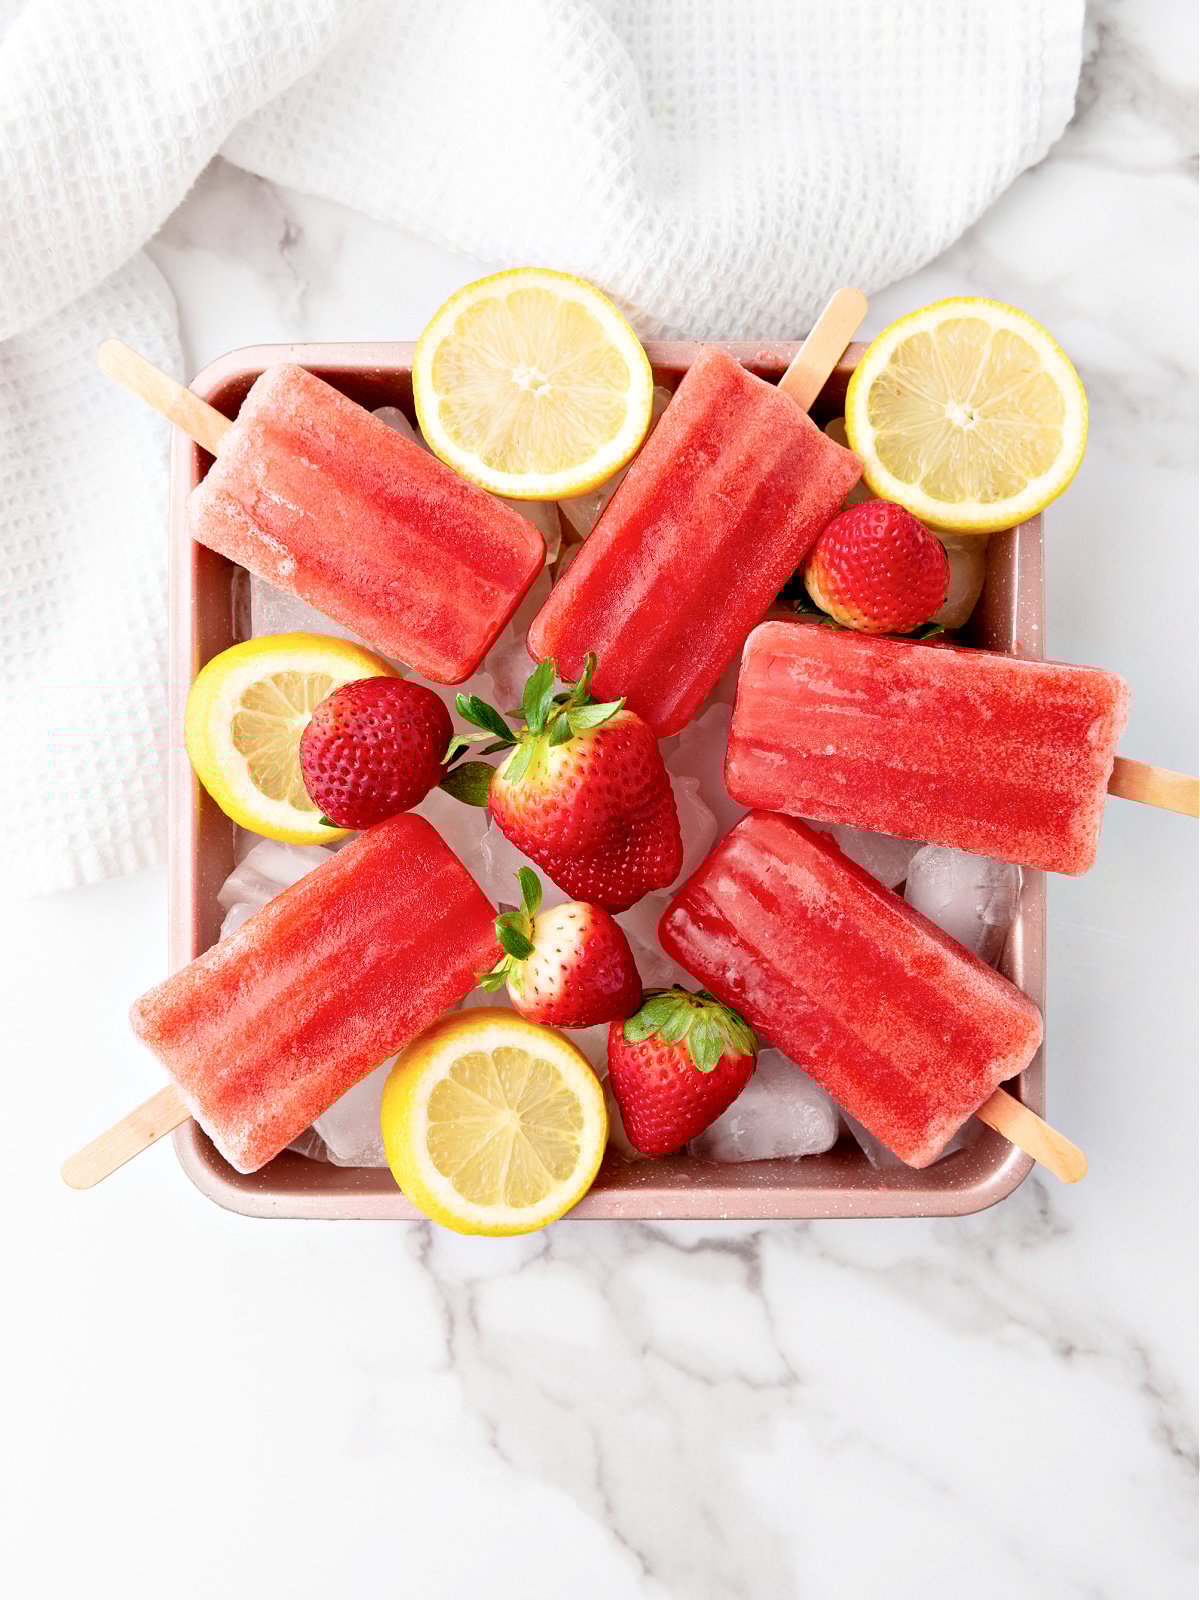
Strawberry Popsicles
Ingredients
Method
- Remove the crowns from the strawberries and wash them.
- In a blender, add the strawberries, water, lemon juice, and agave nectar.
- Blend until it is all smooth.
- Pour in popsicle molds and put the popsicle sticks in place
- Freeze for at least 6 hours
Nutrition
Video
Tried this recipe?
Let us know how it was!Easy Flavor Add-Ins
Once you’ve got the base down, you can mix things up. Here are a few ways to switch it up:
- Add a splash of lime juice for a little zing.
- Swirl in Greek yogurt for a creamy version.
- Toss in a few raspberries or blueberries to make mixed-berry pops.
- Sweeten naturally with honey or maple syrup (especially great if your berries are a bit tart).
- Stir in a spoonful of strawberry jam if you like a little texture.
Storage Tips
Once your popsicles are frozen solid, pop them out of the molds and store them in a freezer-safe container or zip-top bag. If you’re stacking them, you can wrap each one in parchment or plastic wrap to keep them from sticking.
They’re best within a couple of weeks, but they’ll keep for a month or two if stored well.
More Refreshing Recipes
Looking for other easy treats to beat the heat? Check out these Southern Kissed favorites:
- No-churn Cookie Dough Ice Cream – Creamy homemade ice cream loaded with chunks of edible cookie dough—no machine required.
- Easy Banana Pudding – A classic Southern dessert with layers of vanilla pudding, bananas, and wafers.
- Strawberry Mousse – Light and airy with mascarpone and fresh strawberries for a cool, elegant finish.
- Pineapple Coleslaw – Crisp cabbage tossed with pineapple and a tangy dressing—refreshing and perfect for summer meals.

FAQs
Yes – just let them thaw before blending so they break down more easily. Frozen berries are often picked at peak ripeness, so they’re a great backup.
Nope. If your berries are super sweet on their own, you can skip it. Just give the mixture a quick taste before freezing to make sure it’s where you want it.
Usually about 4 – 6 hours, depending on your freezer and mold size. Best to make them earlier in the day or the night before.
Small paper cups work just fine. Pour in the mixture, cover with foil or plastic wrap, and gently push a stick through the top. It might not be Pinterest-perfect, but it gets the job done.
If they come out too icy, try adding a bit more sweetener next time. Sugar helps lower the freezing point, giving you a slightly softer texture.
Last Bite
This is one of those “why didn’t I do this sooner?” kind of recipes. It’s fast, it’s flexible, and it doesn’t ask much from you – just a blender and some berries.
If you give it a try, leave a comment or a star rating below! And if you come up with your own twist, I’d love to hear what you added.
📌 Don’t forget to pin this recipe so you can find it again later!