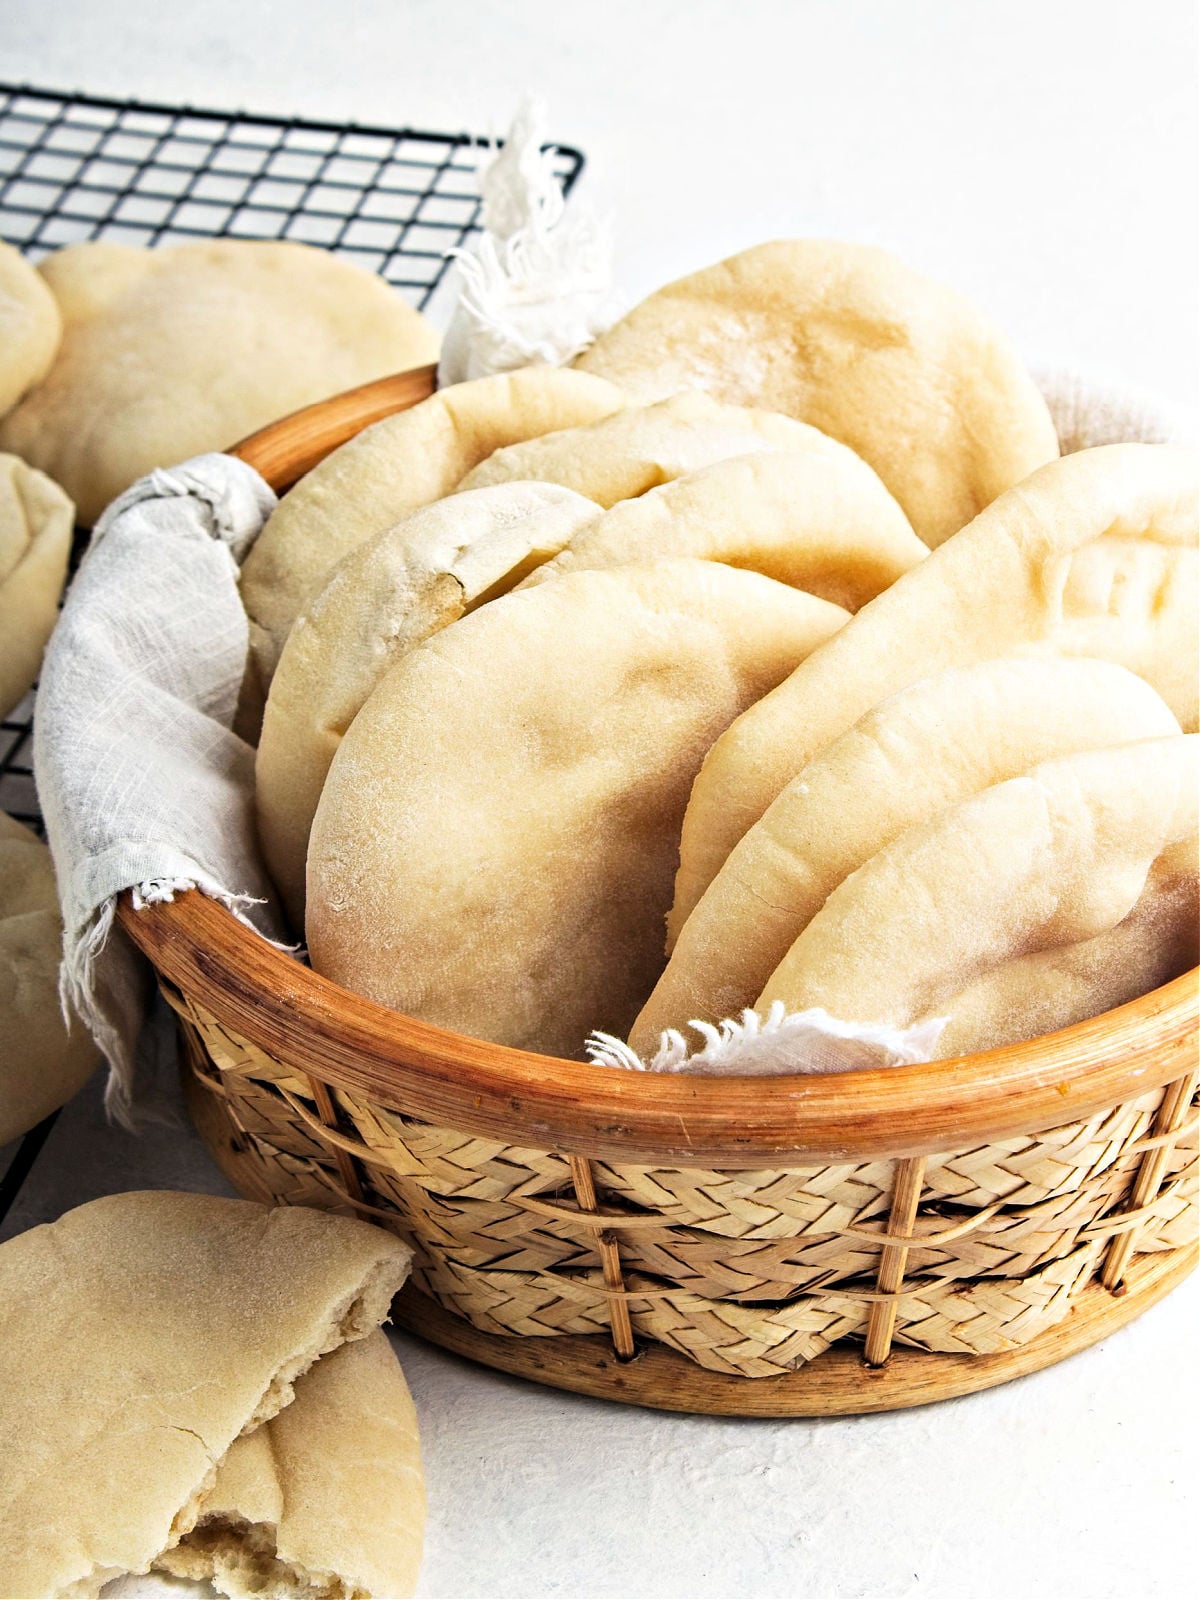
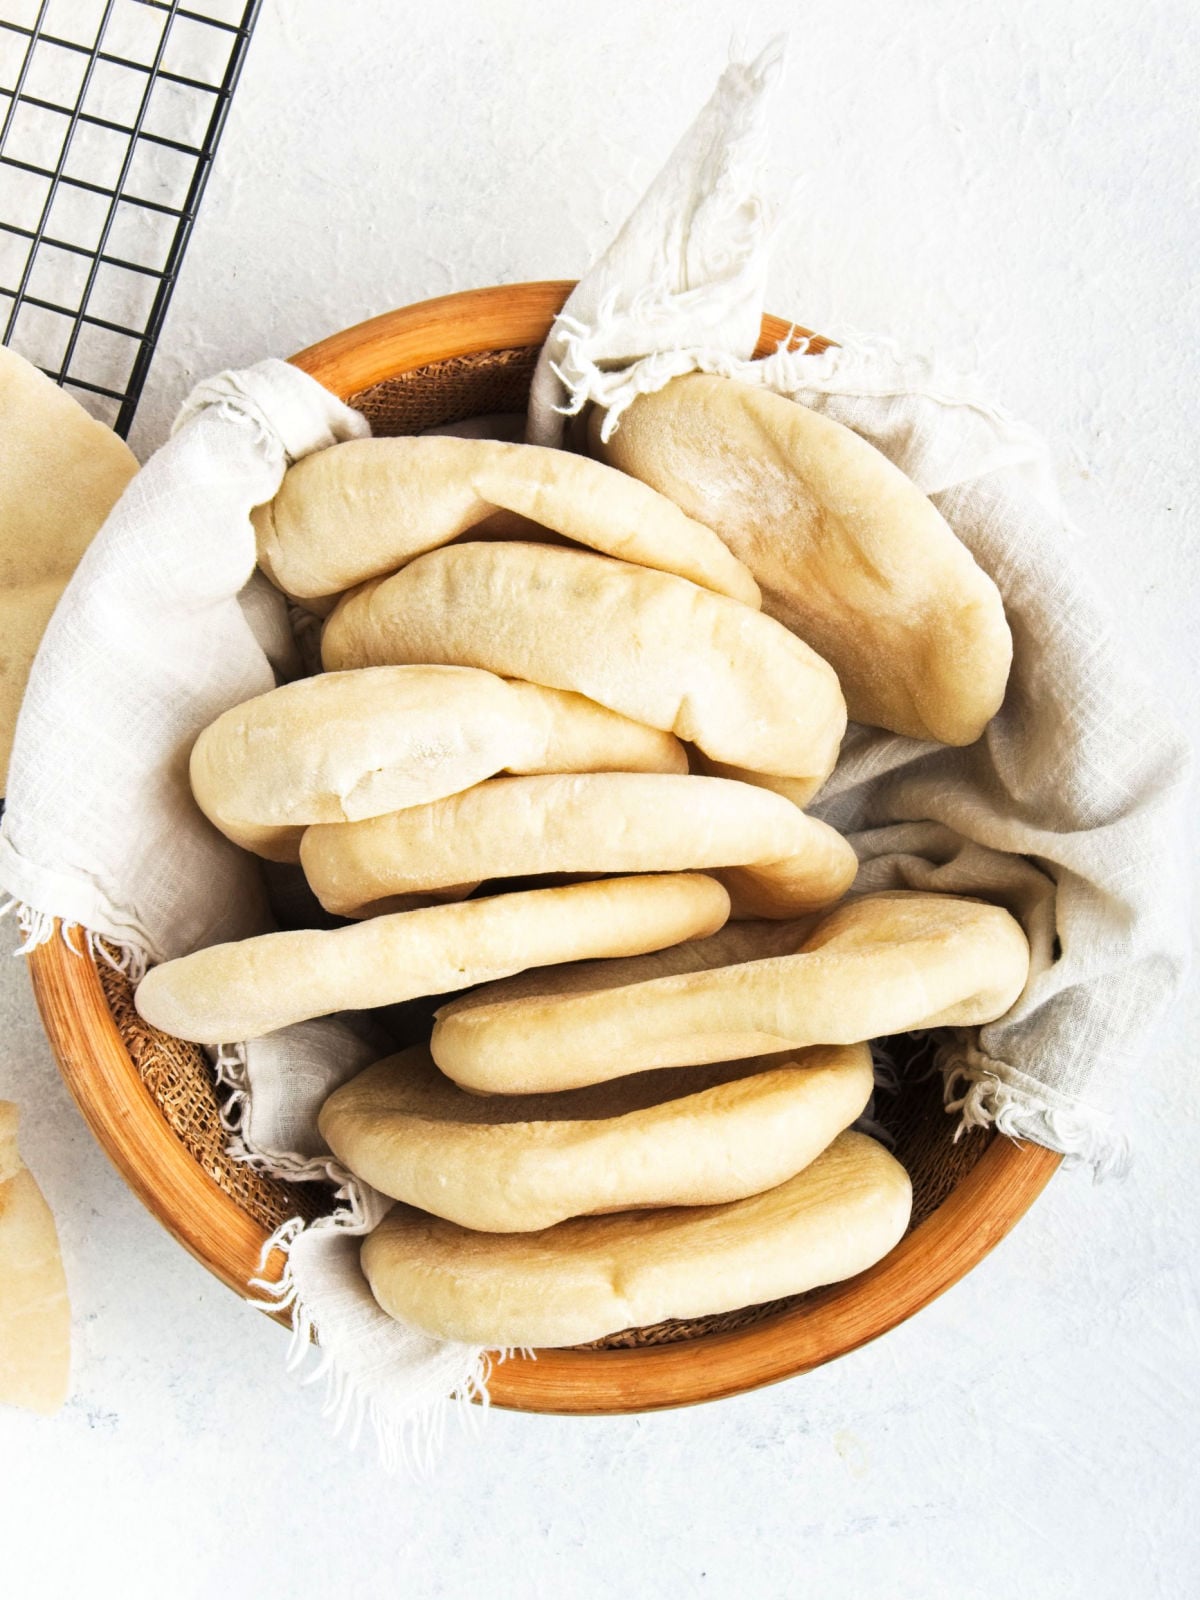
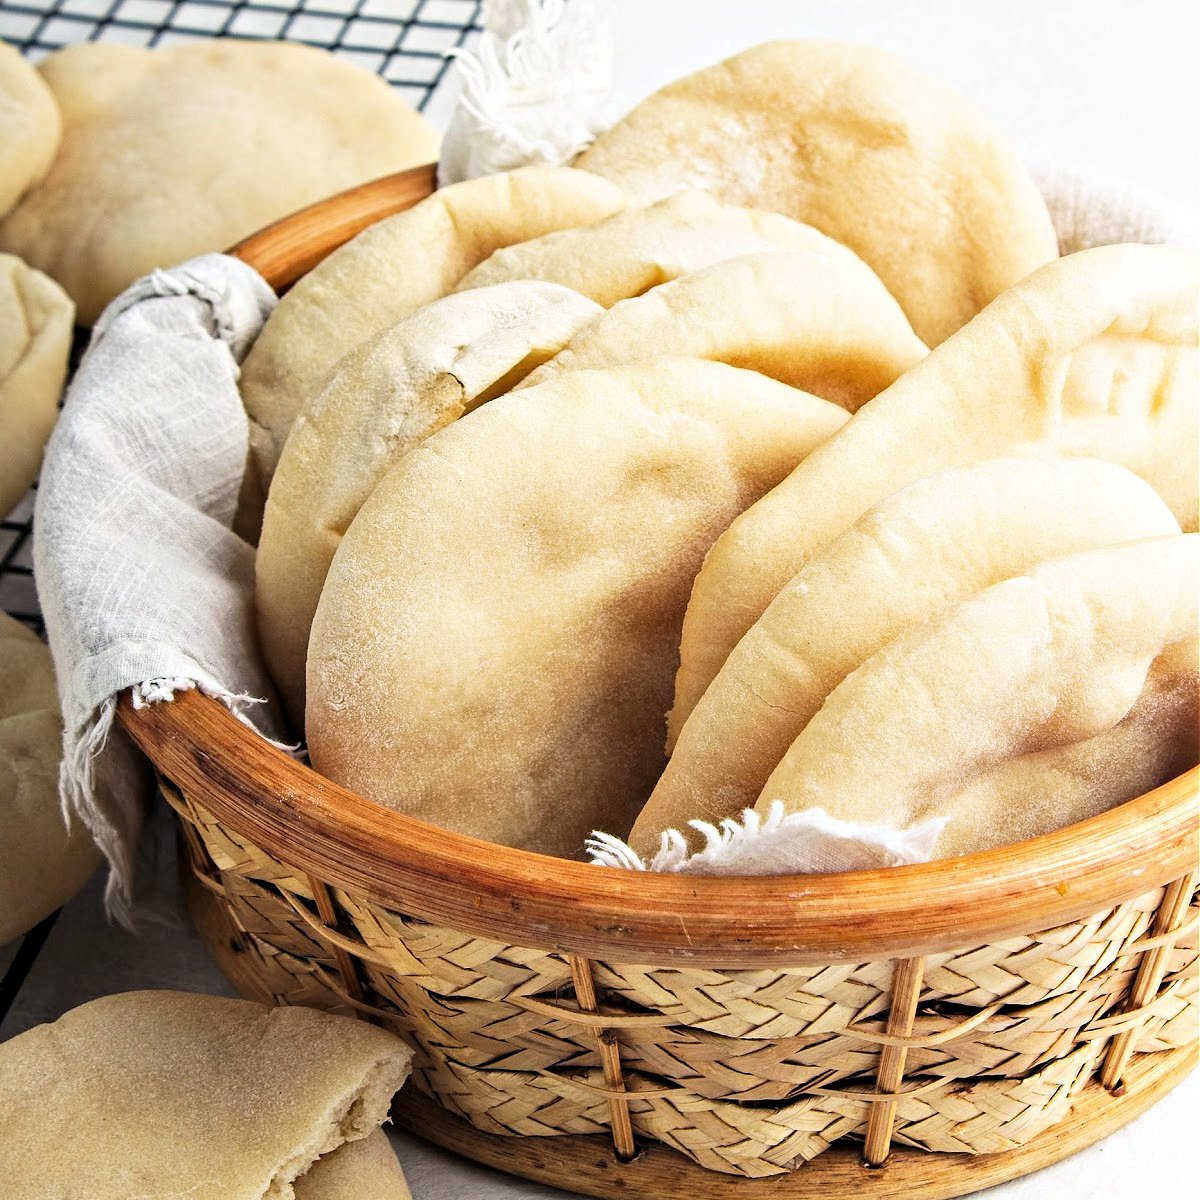
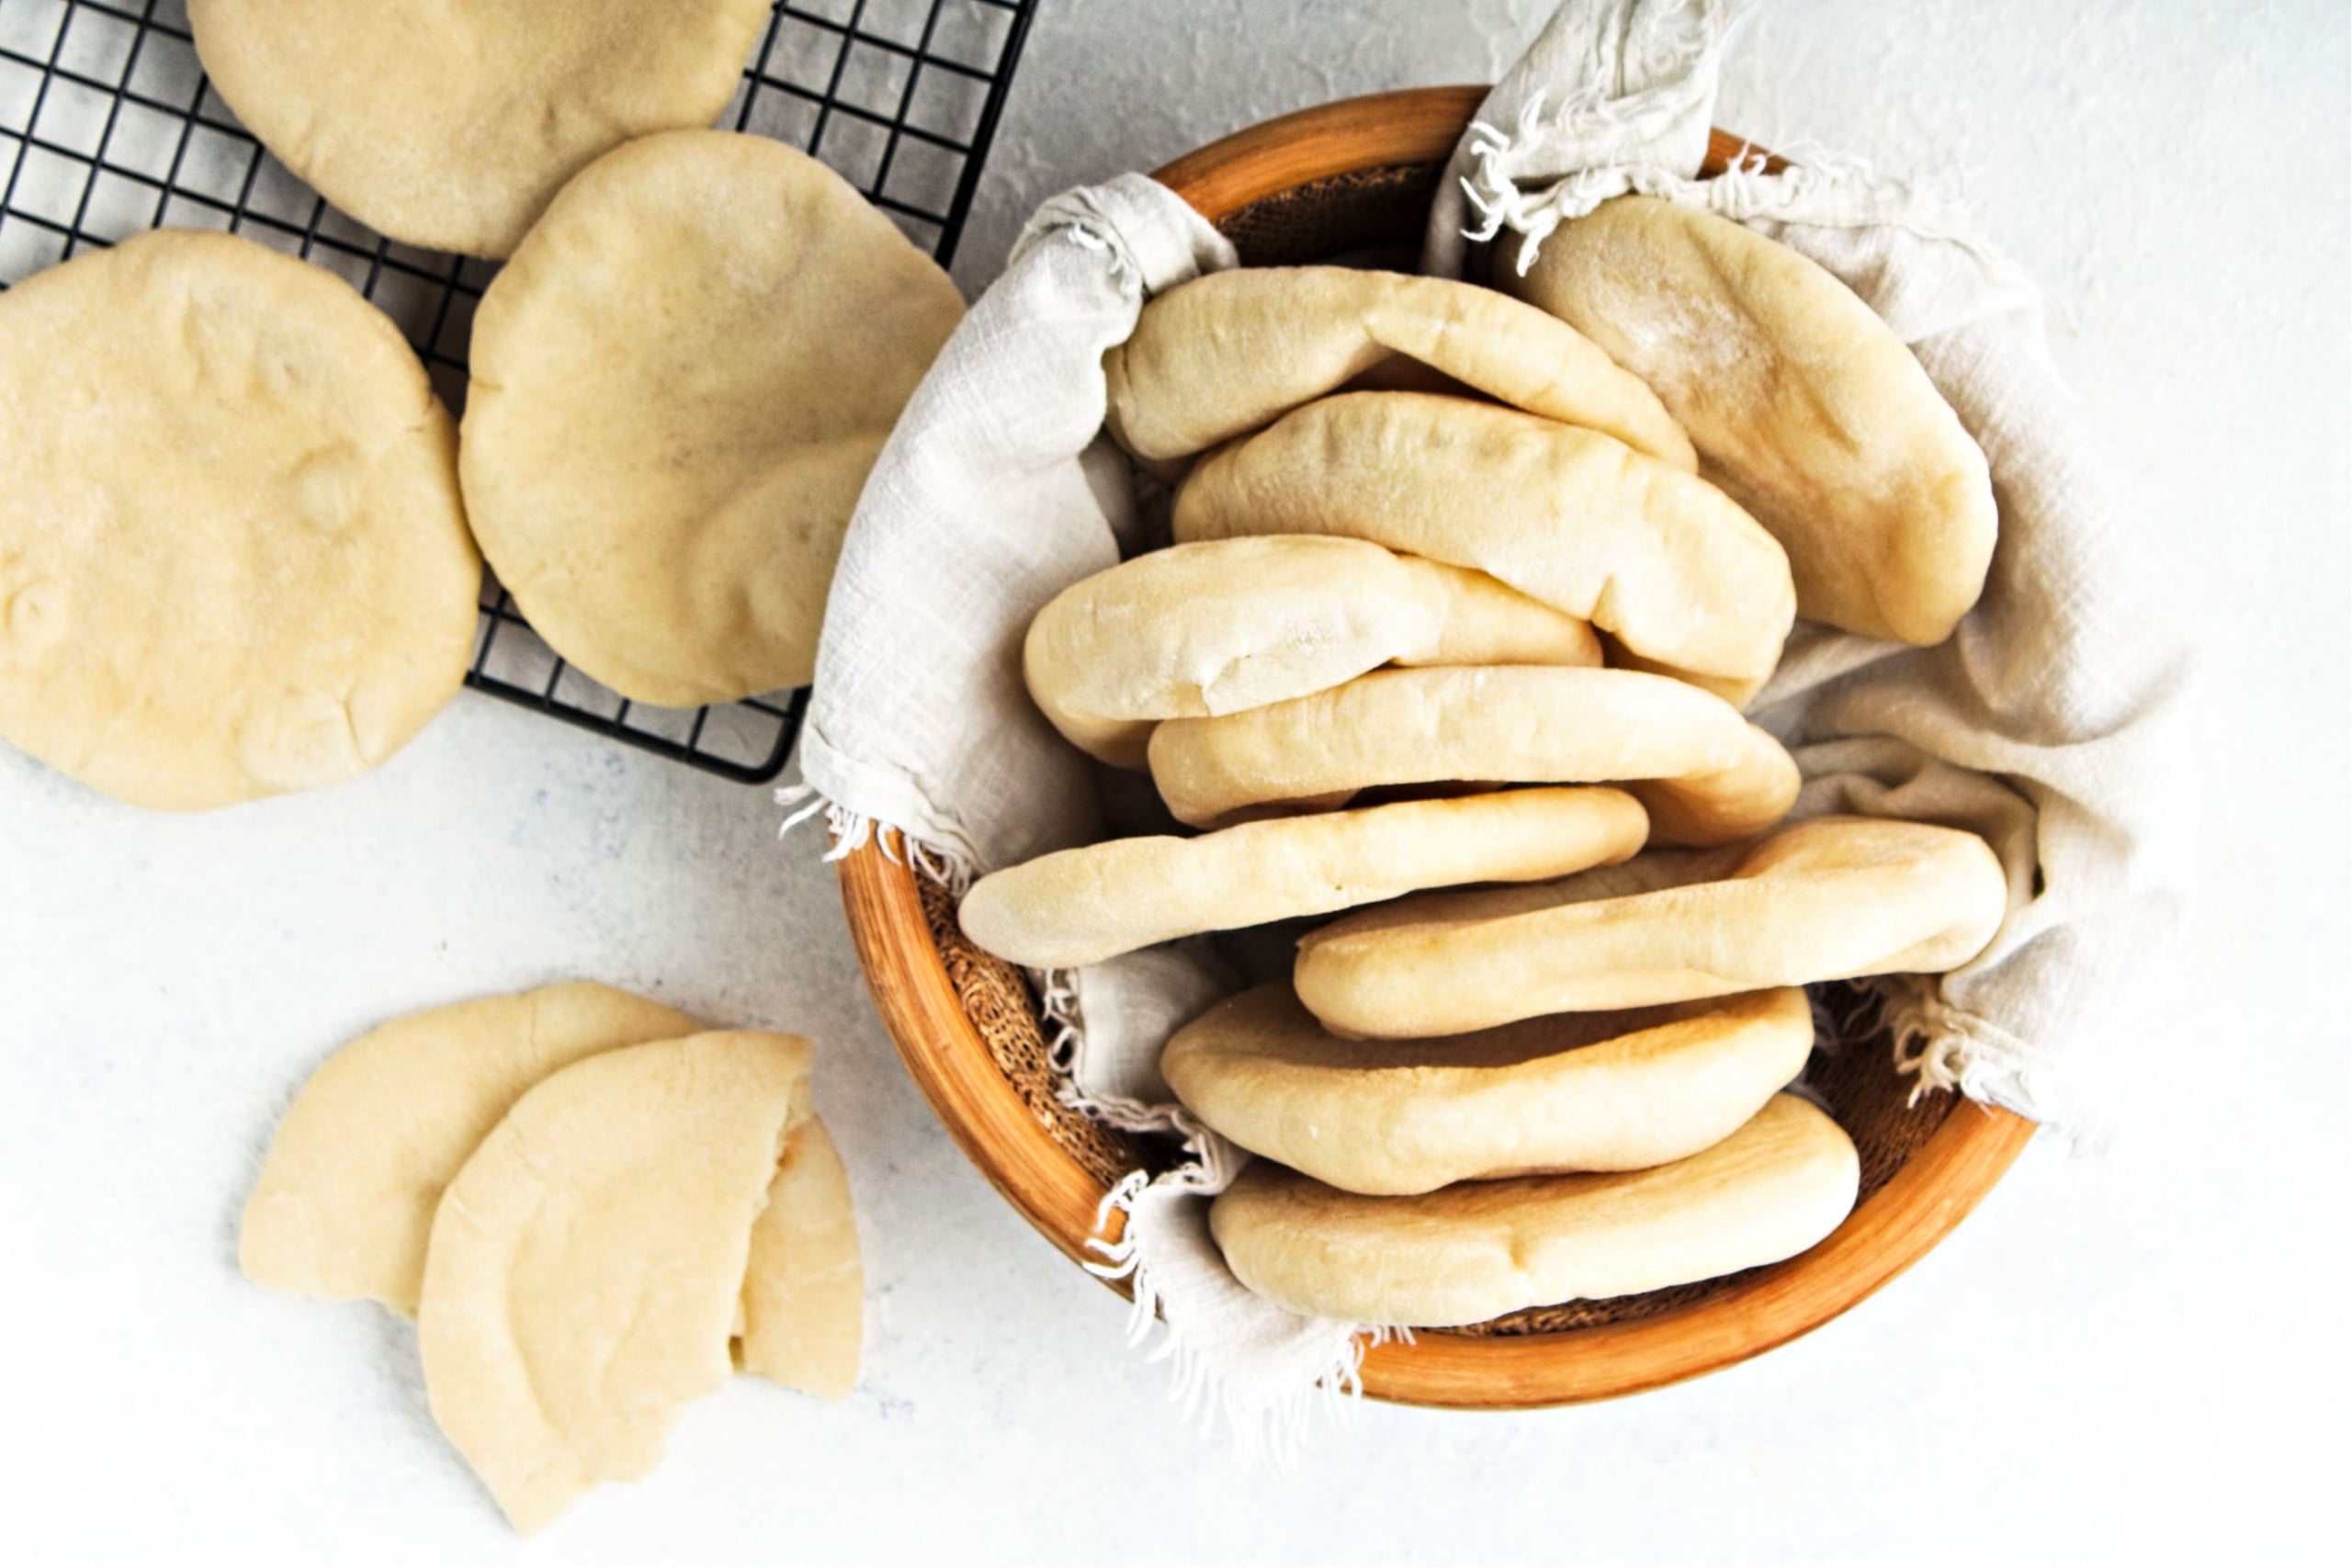
Mini Pita Bread Recipe
There’s something wildly satisfying about pulling homemade pita bread out of a screaming-hot oven and watching it puff like it’s showing off. These mini pitas are soft, flexible, and have that magical pocket that makes them ideal for dips, wraps, or tearing into pieces and eating straight off the counter (no judgment here).
This recipe is vegan, nut-free, and soy-free, but more importantly, it’s doable. No fancy equipment, no sourdough babysitting, just good bread made with pantry staples. And if you’re watching carbs like I am, I’ve got you covered with a half-batch option and a very smart way to turn leftovers into crispy pita chips.
Key Takeaways
- Homemade pita bread puffs beautifully and is perfect for dips and wraps.
- This recipe is vegan and easy, utilizing pantry ingredients with options for a half-batch.
- The key to perfect pitas includes using a hot oven and ensuring the right thickness during rolling.
- Leftover mini pitas can be turned into crispy chips by baking them with oil and salt.
- Serve mini pitas with creamy dips or hearty spreads for a delightful snack.
Ingredients
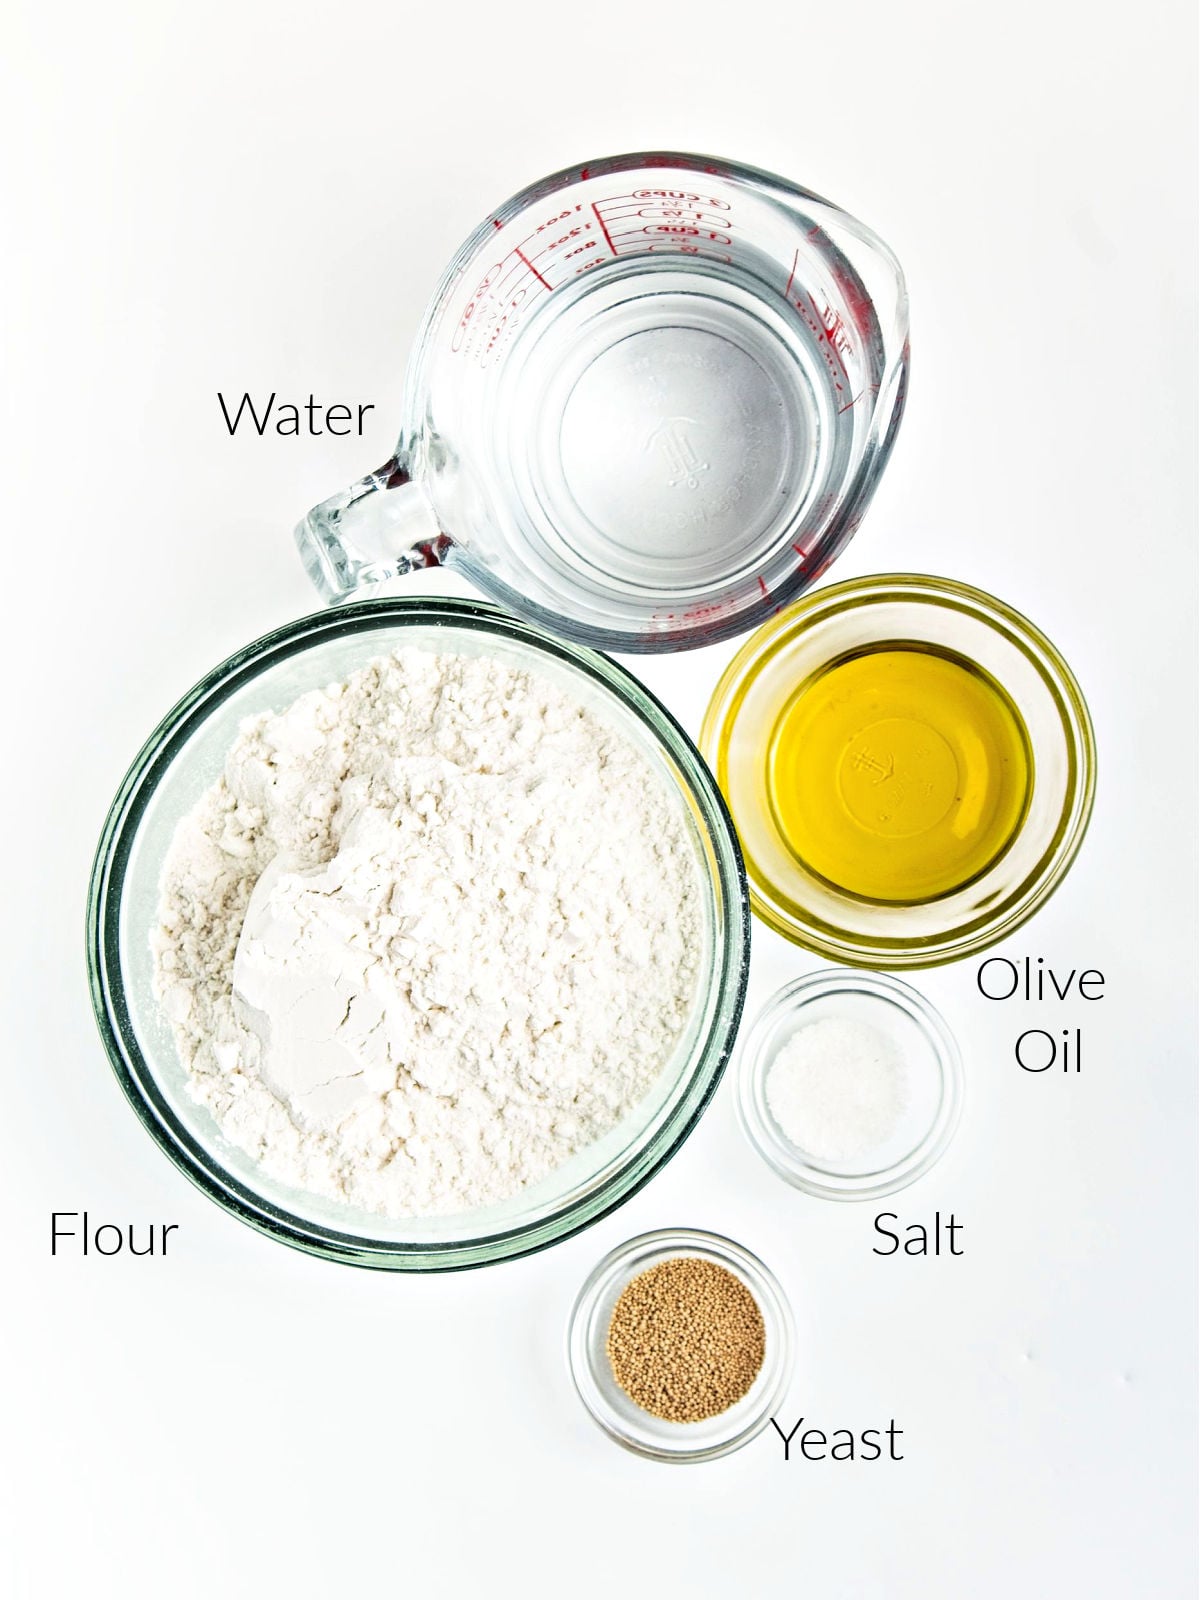
- 3 ¼ cups all-purpose flour
- 2 ¼ tsp active dry yeast
- 1 teaspoon coarse salt
- 2 tablespoons olive oil
- 1 ¼ cups warm water (about body temp, no hotter than 110°F
Directions
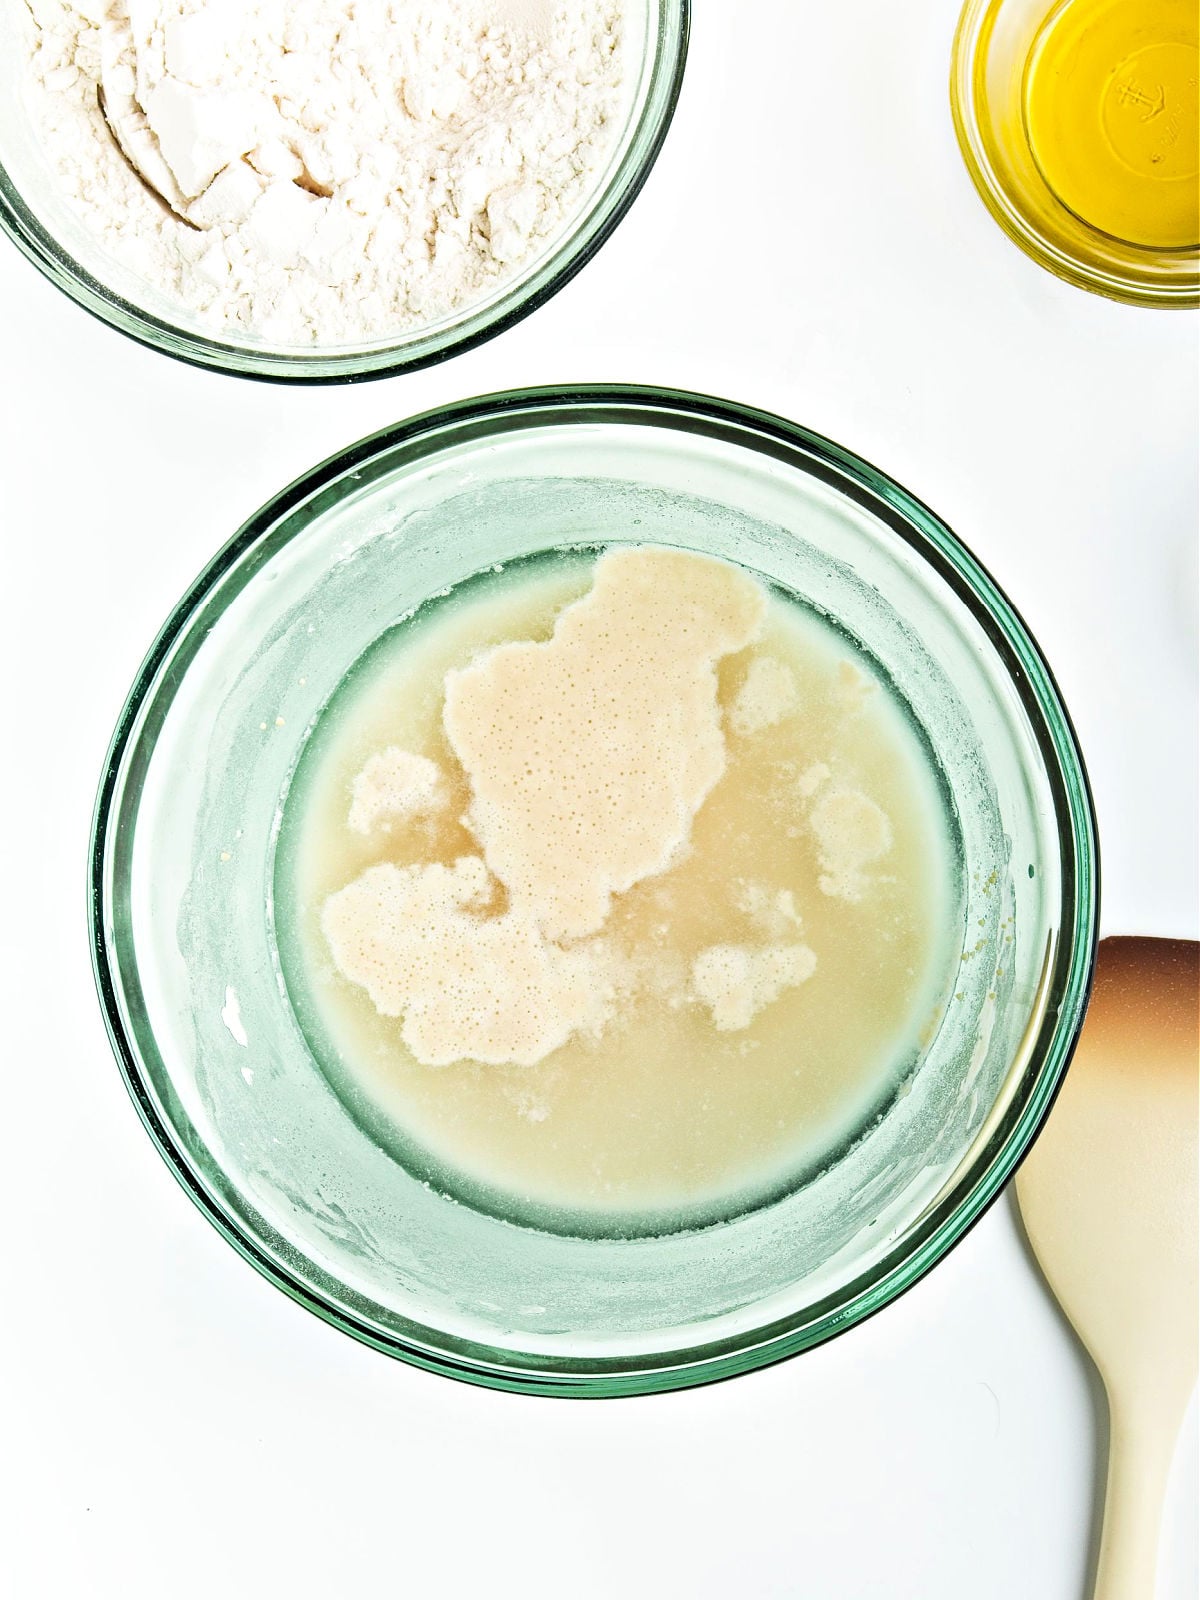
- In a large bowl, combine the warm water with ¼ cup of the flour. Stir to dissolve.
- Sprinkle the yeast over the top and let it sit for about 10 minutes, until foamy.
- Add the remaining flour, salt, and olive oil. Stir until a sticky dough forms.
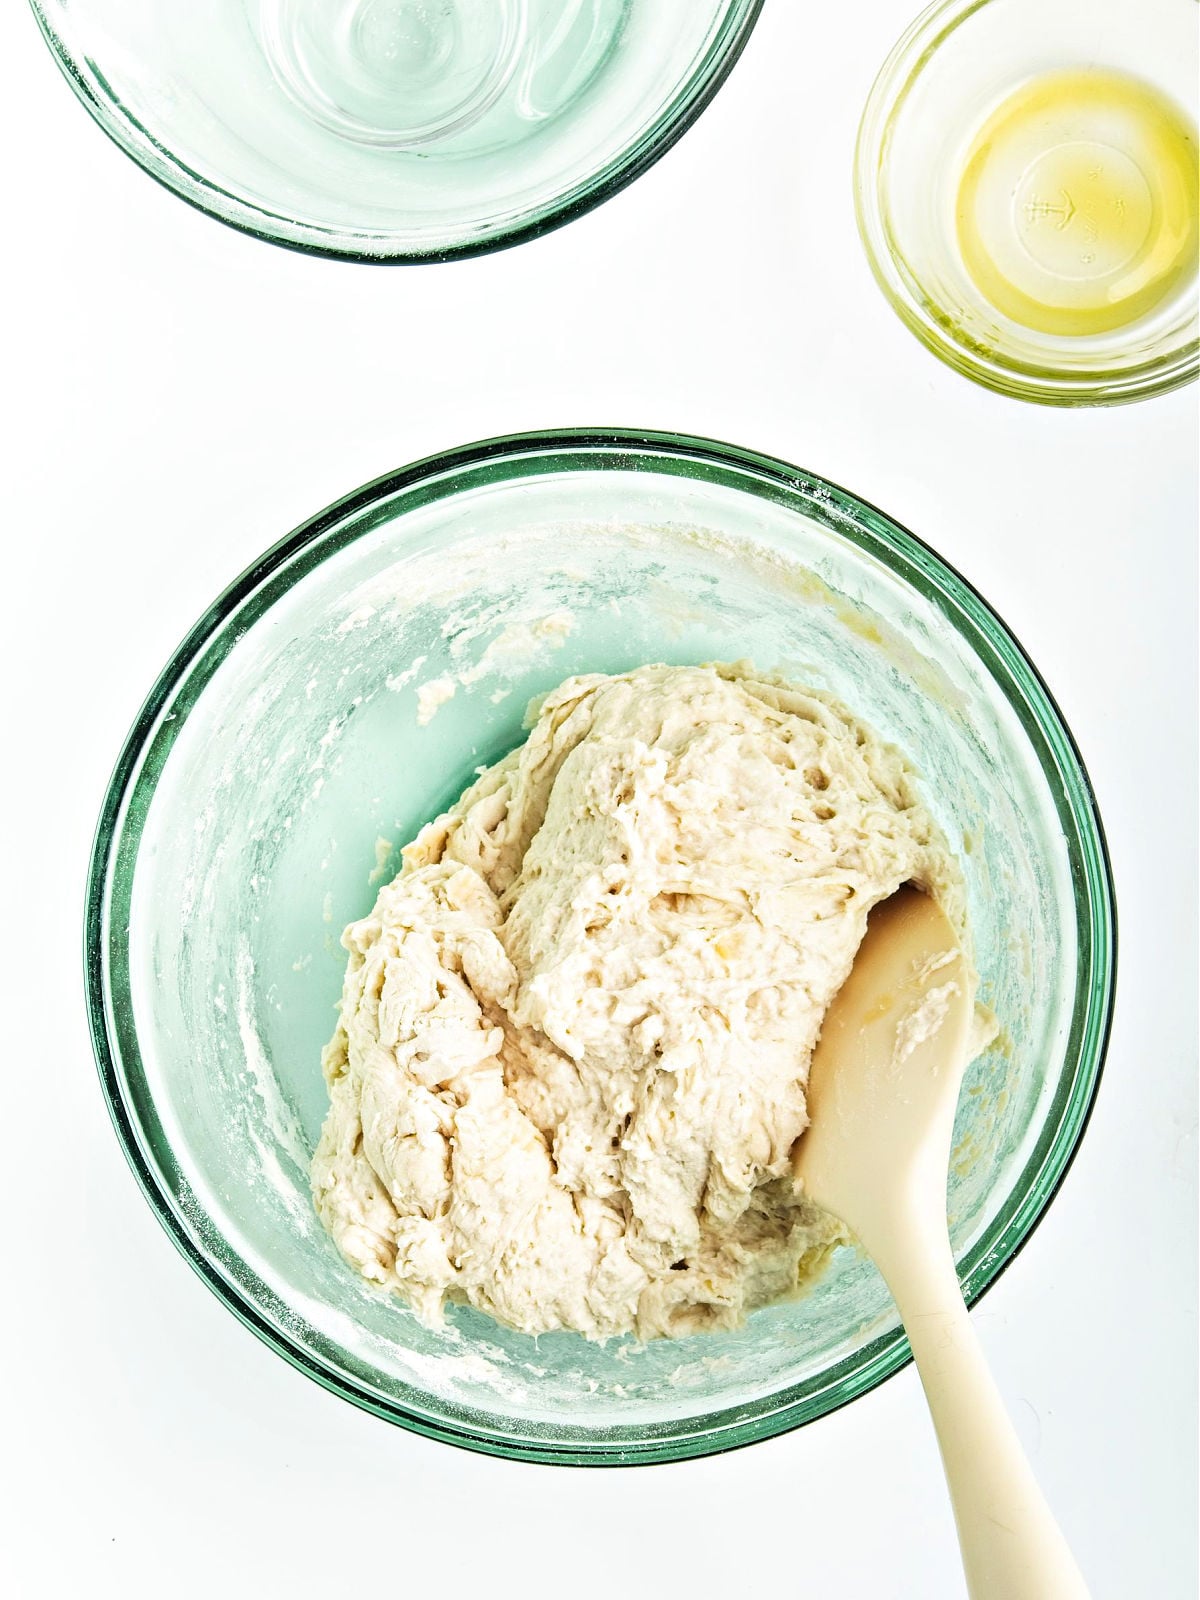
- Turn the dough out onto a floured surface and knead for 7–10 minutes, until smooth and soft. Add extra flour 1 tablespoon at a time only if needed.
- Place the dough in a greased bowl, cover, and let it rise in a warm spot until it is 2½–3 times its size (about 1 hour).
- Preheat the oven to 475°F and place a heavy baking sheet inside to heat.
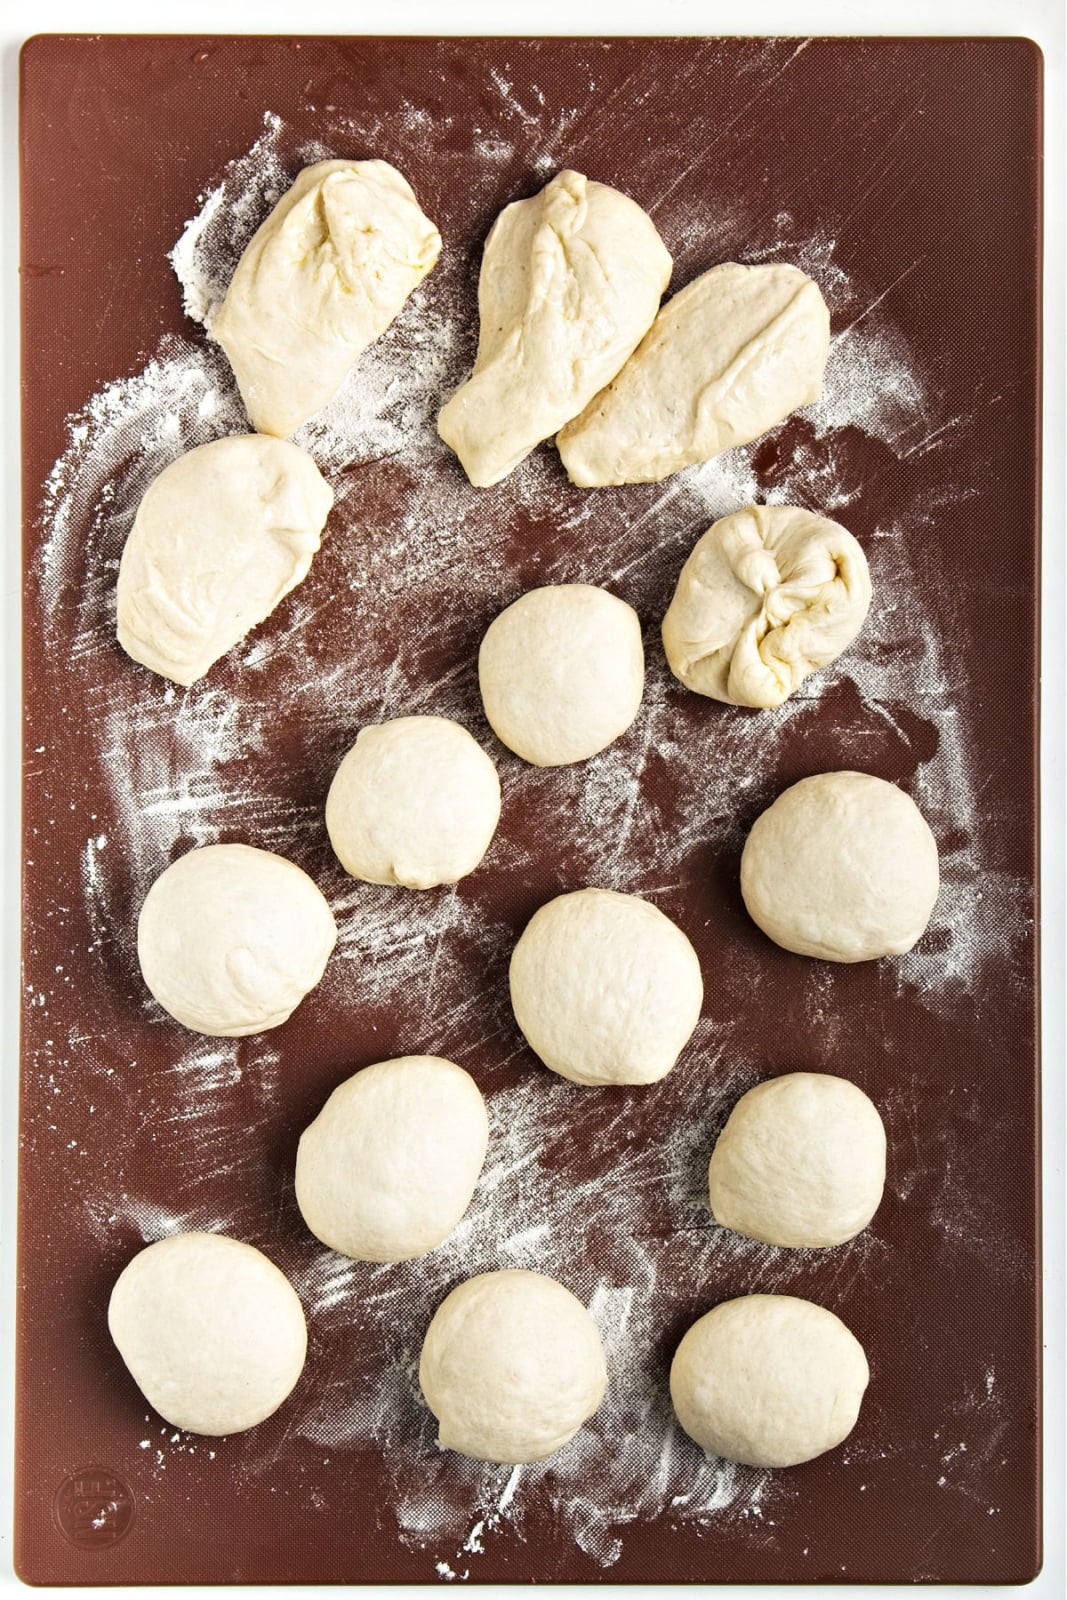
- Turn the dough out onto a lightly floured surface and divide it into 15 equal pieces.
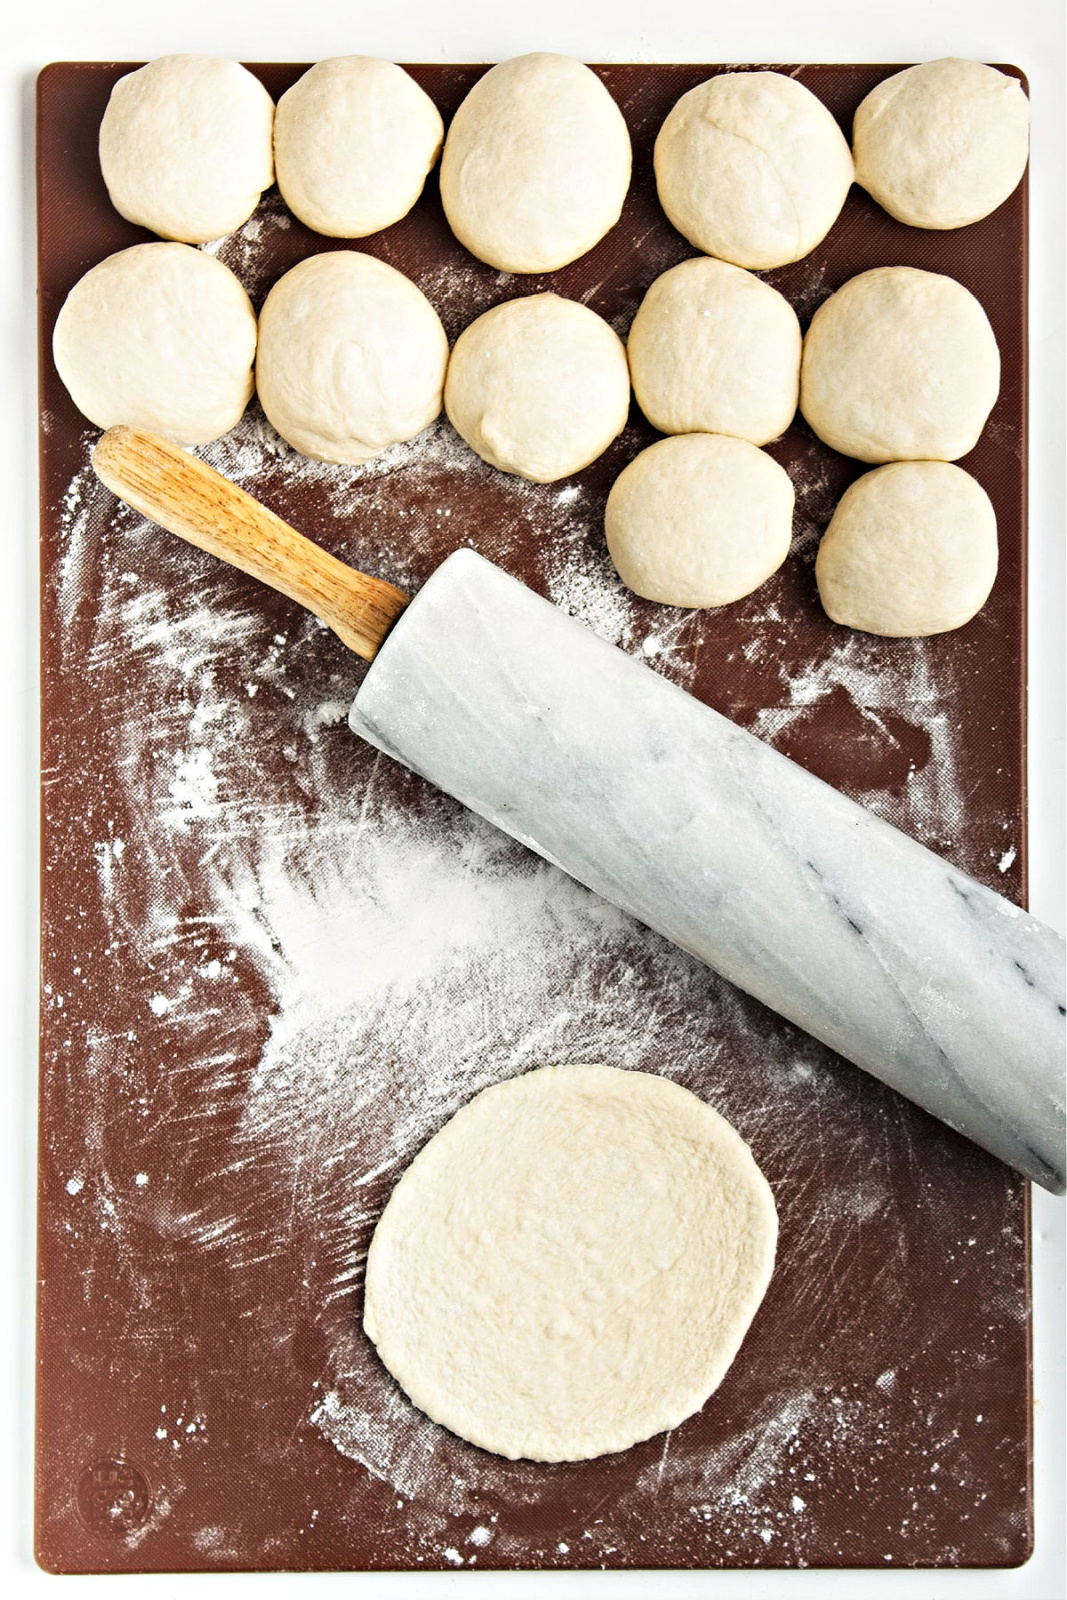
- Roll each piece into a ball, cover it, and let it rest for 5–7 minutes to relax the gluten.
- Roll each ball into a 5-inch circle, just over ¼-inch thick.
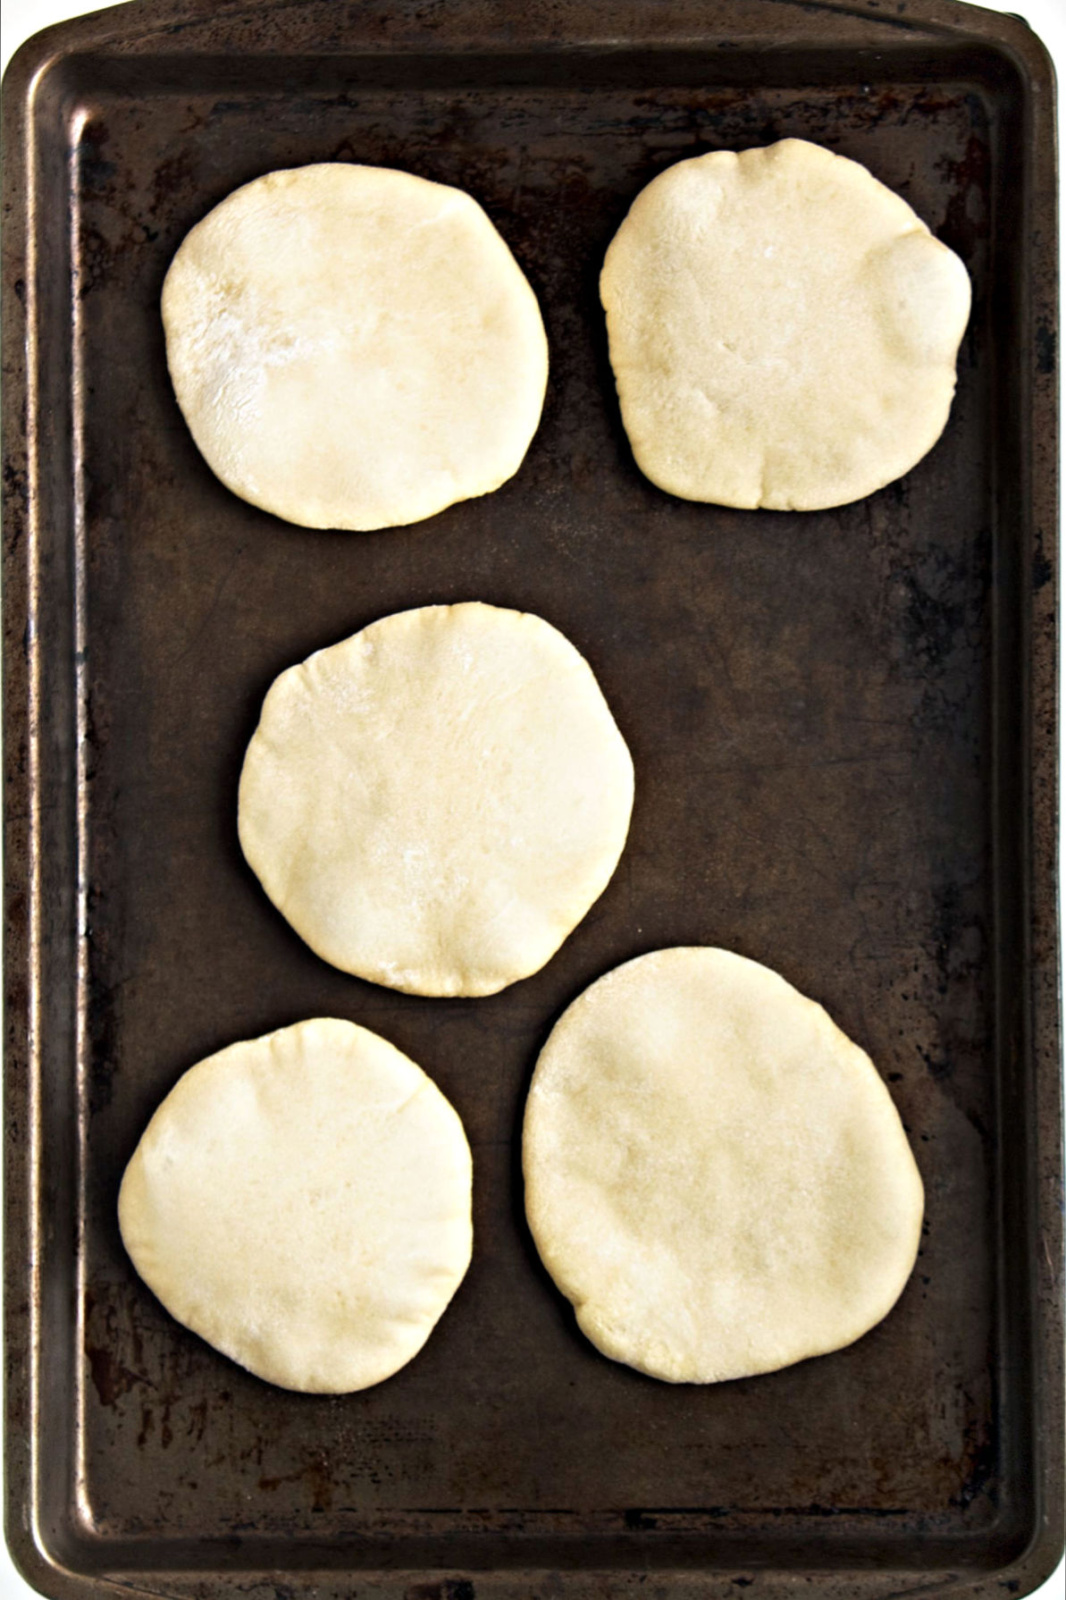
- Let the shaped pitas rest for 15 minutes.
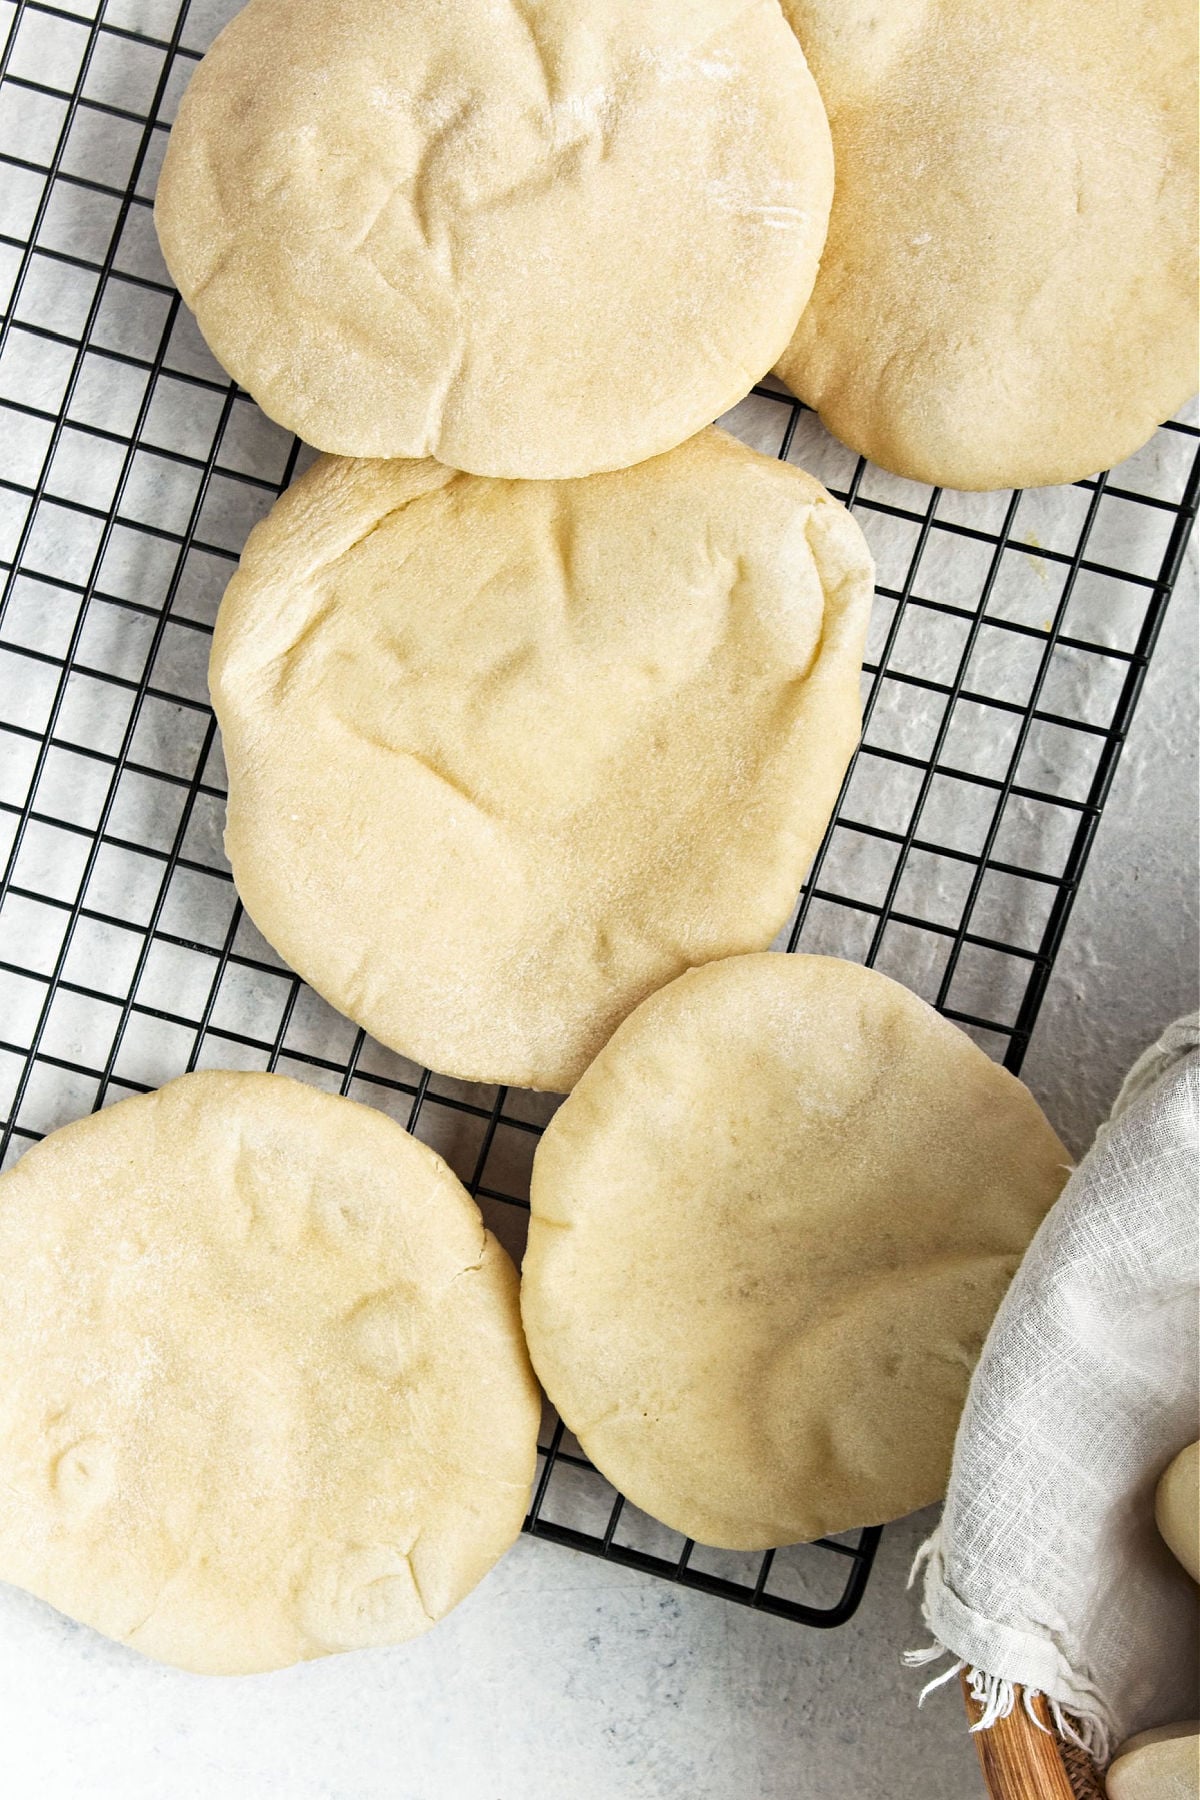
- Bake 3–5 at a time directly on the hot baking sheet for 2–3 minutes, until puffed but not browned.
- Remove immediately. They’ll deflate as they cool – but the pocket stays. Store in an airtight container for up to 3 days.
Half-Batch Instructions (Plenty for One or Two)
If you don’t need 15 pitas (same), here’s how to make a smaller batch:
Half-Batch Ingredients
- 1 ½ cups + 2 tablespoons all-purpose flour
- 1 ¼ tsp active dry yeast
- ½ teaspoon coarse salt
- 1 tablespoon olive oil
- ½ cup + 2 tablespoons warm water
Follow the same directions, just divide the dough into 7 or 8 pieces instead of 15. This was more than enough for me without pita bread taking over my kitchen.
What to Serve With Mini Pitas
These mini pitas are made for dipping and scooping. They’re especially good alongside creamy dips, hearty bean spreads, and saucy appetizers – the kind that usually show up on game-day tables or snack boards. If you’re building a spread, these mini pitas pair especially well with Spinach and Artichoke Dip, Village Tavern–Style Pimento Cheese, and Warm Black Bean Dip – all sturdy, scoopable options that play nicely with soft pita or crunchy homemade pita chips.
Tips for Perfect Mini Pita Bread
- Heat is non-negotiable. If your oven isn’t hot enough, your pitas won’t puff. 475°F with a preheated heavy baking sheet is the magic combo.
- Thickness matters. Too thin and they dry out. Too thick and they won’t inflate. Aim for just over ¼-inch thick.
- Don’t rush the rests. Those short rest periods let the gluten relax so steam can do its job in the oven.
- Bake fast and pull fast. Pitas puff quickly. If they start browning, you’ve gone too far.
- Flour lightly, not heavily. Too much bench flour can keep the dough from sealing and puffing properly.
Mini Pita Bread
Ingredients
Method
- In a large bowl, combine the warm water with ¼ cup of the flour. Stir to dissolve.
- Sprinkle the yeast over the top and let it sit for about 10 minutes, until foamy.
- Add the remaining flour, salt, and olive oil. Stir until a sticky dough forms.
- Turn the dough out onto a floured surface and knead for 7–10 minutes, until smooth and soft. Add extra flour 1 tablespoon at a time only if needed.
- Place the dough in a greased bowl, cover, and let rise in a warm spot until 2½–3 times its size (about 1 hour).
- Preheat the oven to 475°F and place a heavy baking sheet inside to heat.
- Turn the dough out onto a lightly floured surface and divide into 15 equal pieces.
- Roll each piece into a ball, cover it, and let it rest for 5–7 minutes to relax the gluten.
- Roll each ball into a 5-inch circle, just over ¼-inch thick.
- Let the shaped pitas rest for 15 minutes.
- Bake 3–5 at a time directly on the hot baking sheet for 2–3 minutes, until puffed but not browned.
- Remove immediately. The pita bread will deflate as it cools—but the pocket will remain.
- Store in an airtight container in the fridge for up to 3 days.
Nutrition
Notes
Half-Batch Instructions (Plenty for One or Two)
If you don’t need 15 pitas (same), here’s how to make a smaller batch: Half-Batch Ingredients- 1 ½ cups + 2 tablespoons all-purpose flour 1
- ¼ tsp active dry yeast
- ½ teaspoon coarse salt
- 1 tablespoon olive oil
- ½ cup + 2 tablespoons warm water
Tried this recipe?
Let us know how it was!FAQs
Before you commit flour and time, proof the yeast. When you sprinkle it over warm water and flour, it should become foamy and bubbly within 10 minutes.
If nothing happens? That yeast is dead. Toss it and grab a fresh packet – bread does not rise on hope alone.
Pro tip:
Water too hot = dead yeast
Water too cool = sluggish yeast
Think warm bath, not hot tub.
This is the #1 pita heartbreak. Common culprits:
*Oven wasn’t hot enough – Steam creates the pocket, and steam needs heat.
*Baking sheet wasn’t preheated – Cold pans kill the puff.
*Dough was rolled unevenly – Thin spots leak steam.
*Too much flour on the surface – Prevents proper sealing.
*Overbaked – They puff, then deflate before you notice.
Even if they don’t puff fully, they’ll still be soft and delicious—just more “flatbread” than “pocket.”
Totally normal. Oven hot spots, dough hydration, and even humidity can affect puffing. That’s why baking 3–5 at a time works best – you get consistent heat and better steam control.
Nope—this is normal. They always deflate as they cool. The pocket stays inside, even if the drama doesn’t.
Absolutely. Let them cool completely, then freeze in a zip-top bag. Reheat straight from frozen in a warm oven.
Bonus Move: Turn Leftovers Into Crispy Pita Chips
Because wasting bread is a crime.
I sliced leftover pita into small triangles, lightly coated them with avocado oil, sprinkled them with salt, and baked them at 425°F for 5–10 minutes. Oh. Em. Gee! I think these might just become my new food obsession.
- Thinner slices = less bake time
- Keep an eye on them – they go from perfect to “whoops” fast
They were excellent with dips and salads. If you want a deeper dive on pita chips, I recommend checking out the excellent step-by-step guide from The Mediterranean Dish.
Last Bite
Tried these mini pitas – or turned them into chips? Leave a comment below and tell me how you served them. Did you go fresh and fluffy, or crispy and snack-worthy?