High Protein Ice Cream (Ninja Creami Recipe)
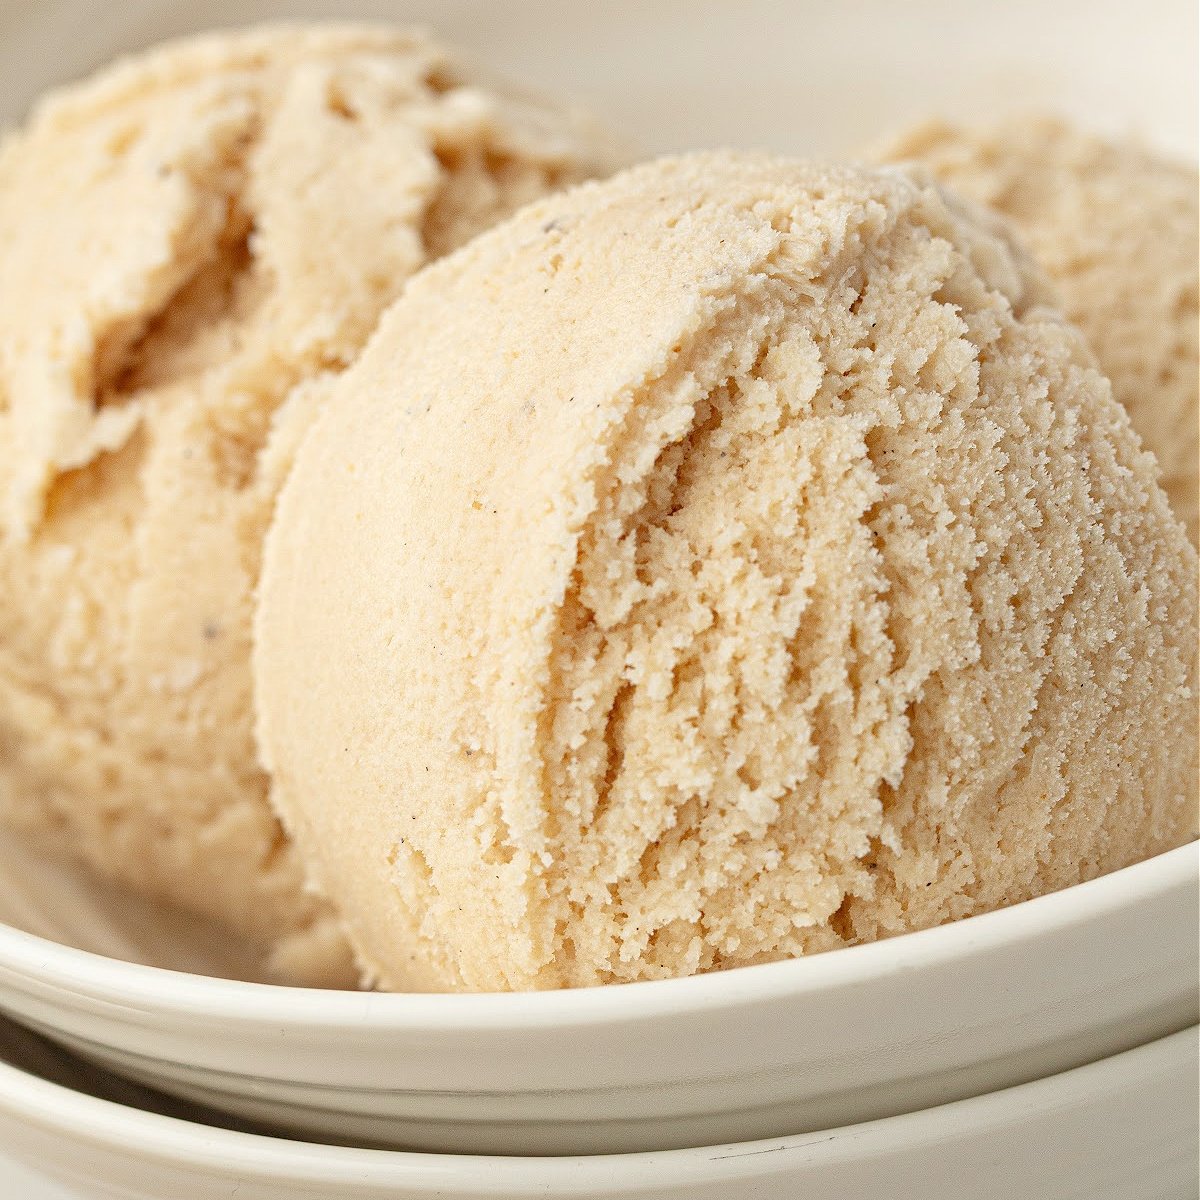
If you’ve ever wanted ice cream that actually does something for you—besides disappear—this one’s it. This High-Protein Ice Cream is made for the Ninja Creami, blends up in minutes, and spins into a creamy, scoopable pint that doesn’t taste like a compromise.
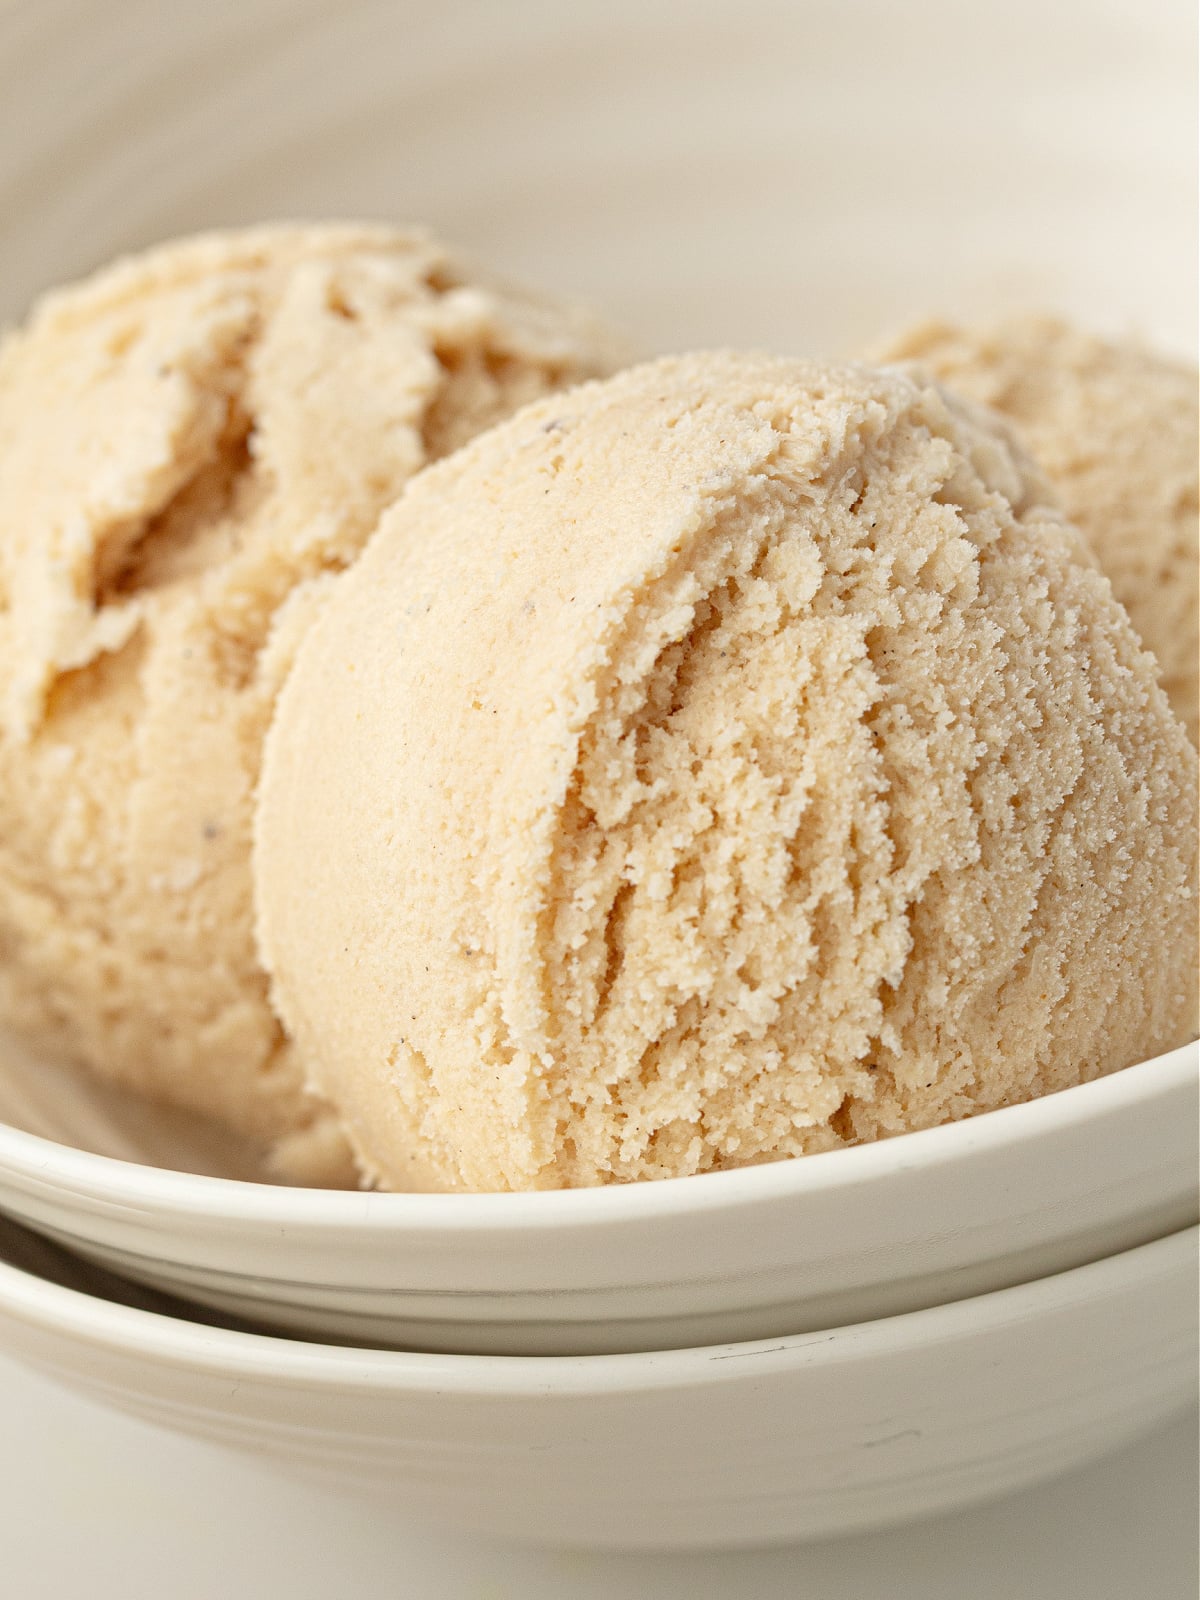
It’s smooth, lightly sweet, and flexible enough to dress up with berries, chocolate, or even granola if you’re feeling rebellious at breakfast. The cream cheese is doing quiet but important work here, adding body and creaminess so the protein powder doesn’t hijack the texture.
This is the vanilla base you’ll come back to again and again.
Why This Recipe Works
High-protein ice cream can go sideways fast—chalky texture, icy bite, or that unmistakable “protein aftertaste.” This recipe avoids all of that by balancing a few key things:
- Dairy milk for creaminess
- Cream cheese for structure and smoothness
- Protein powder for satiety
- Powdered sweetener so everything dissolves cleanly
The result is a pint that spins smoothly on the Lite cycle and finishes creamy with minimal re-spins.
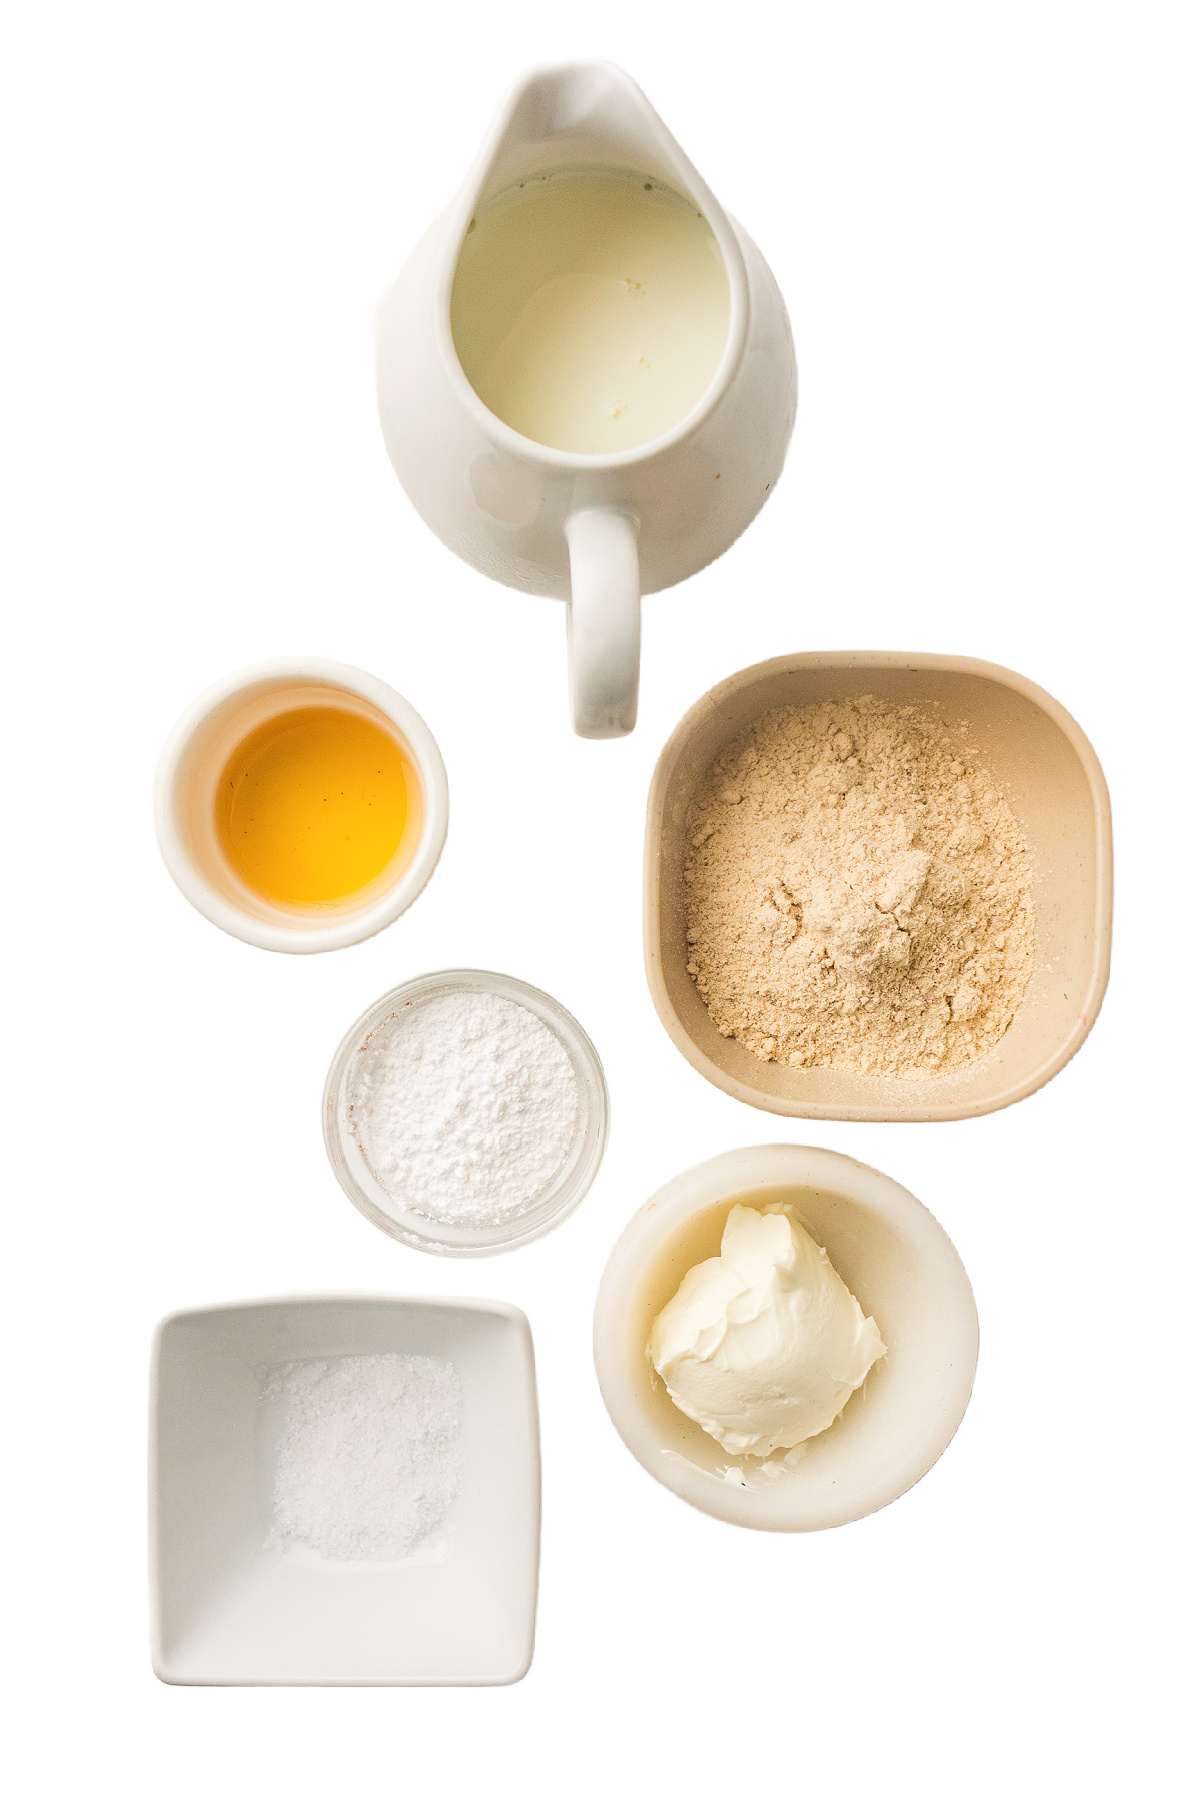
Ingredients
- 1 cup milk (whole milk is best)
- 2 tablespoons (30 g) cream cheese, softened
- 1 serving vanilla protein powder
- 3 tablespoons powdered sweetener (powdered sugar, erythritol, monkfruit, or allulose — powdered dissolves best)
- ½ teaspoon vanilla extract
- Pinch of salt
Instructions
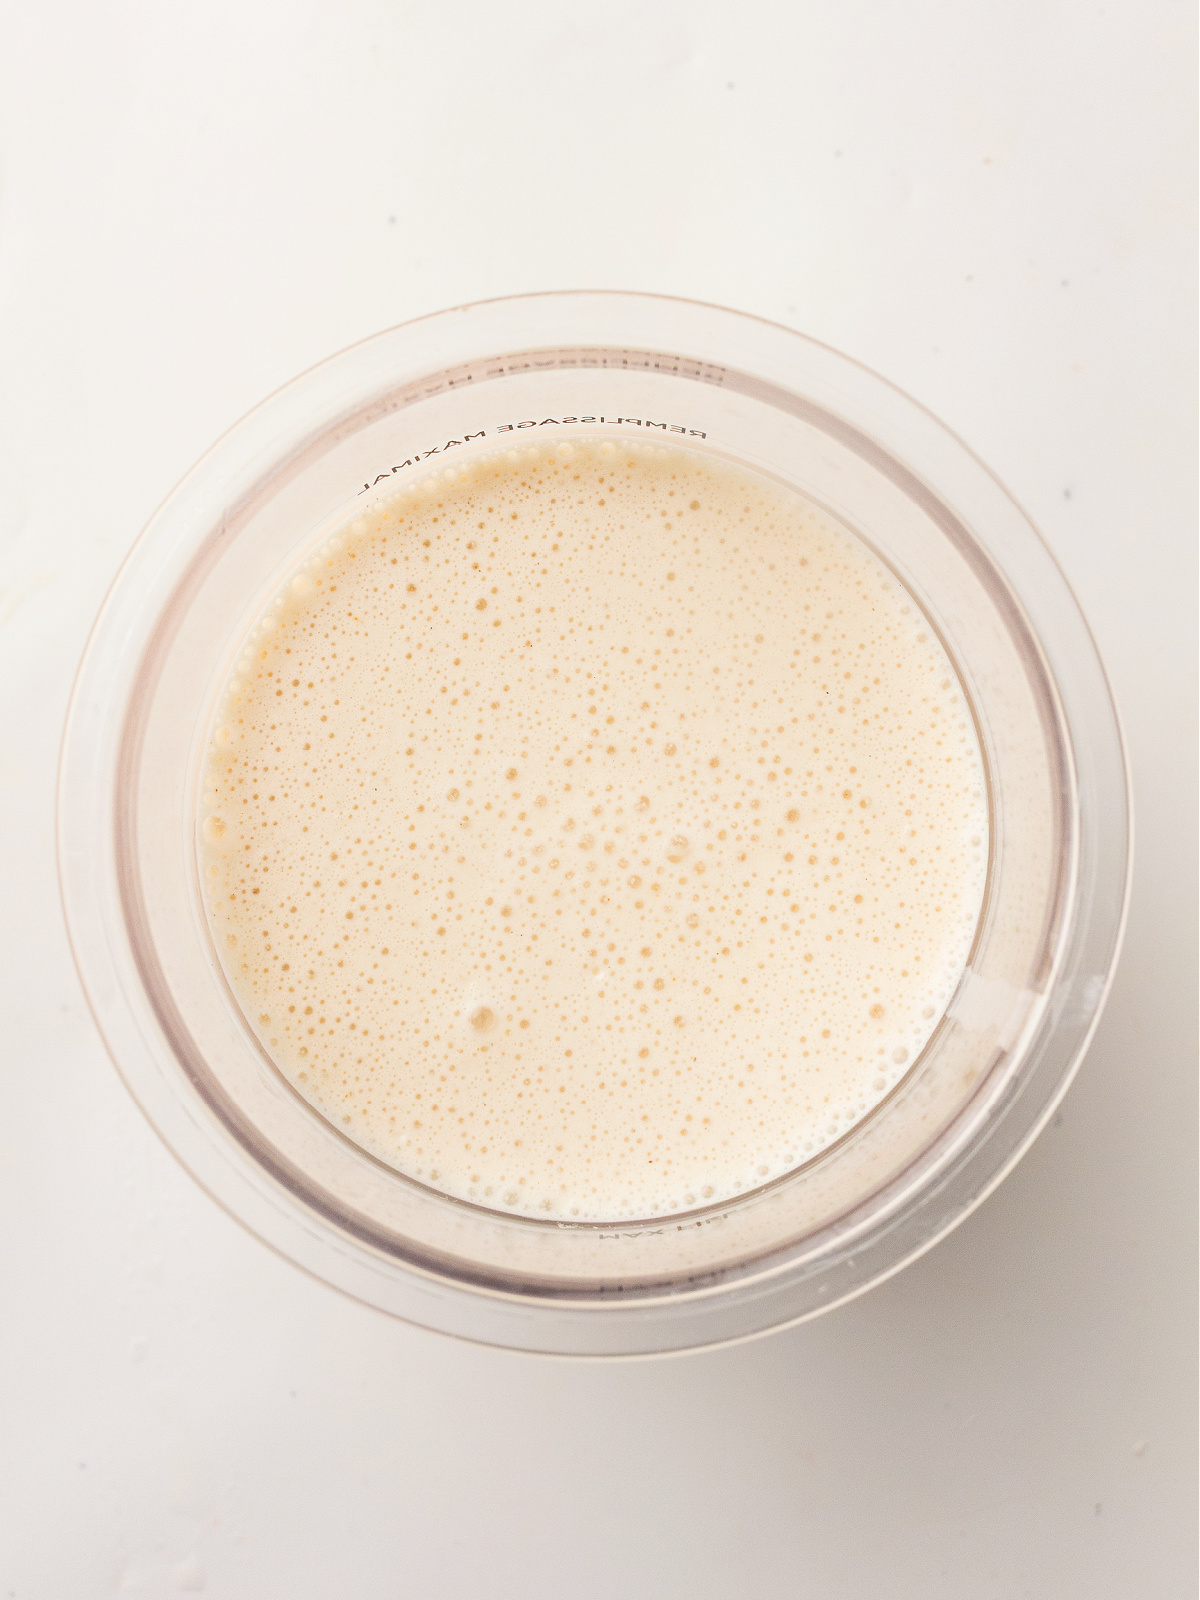
- Add the milk, cream cheese, protein powder, powdered sweetener, vanilla extract, and salt to a blender.
- Blend until completely smooth.
- Pour the mixture into a Ninja Creami pint container and top with the lid.
- Freeze for 24 hours, making sure the pint is completely solid.
- Install the frozen pint in the Ninja Creami and run the Lite Ice Cream cycle.
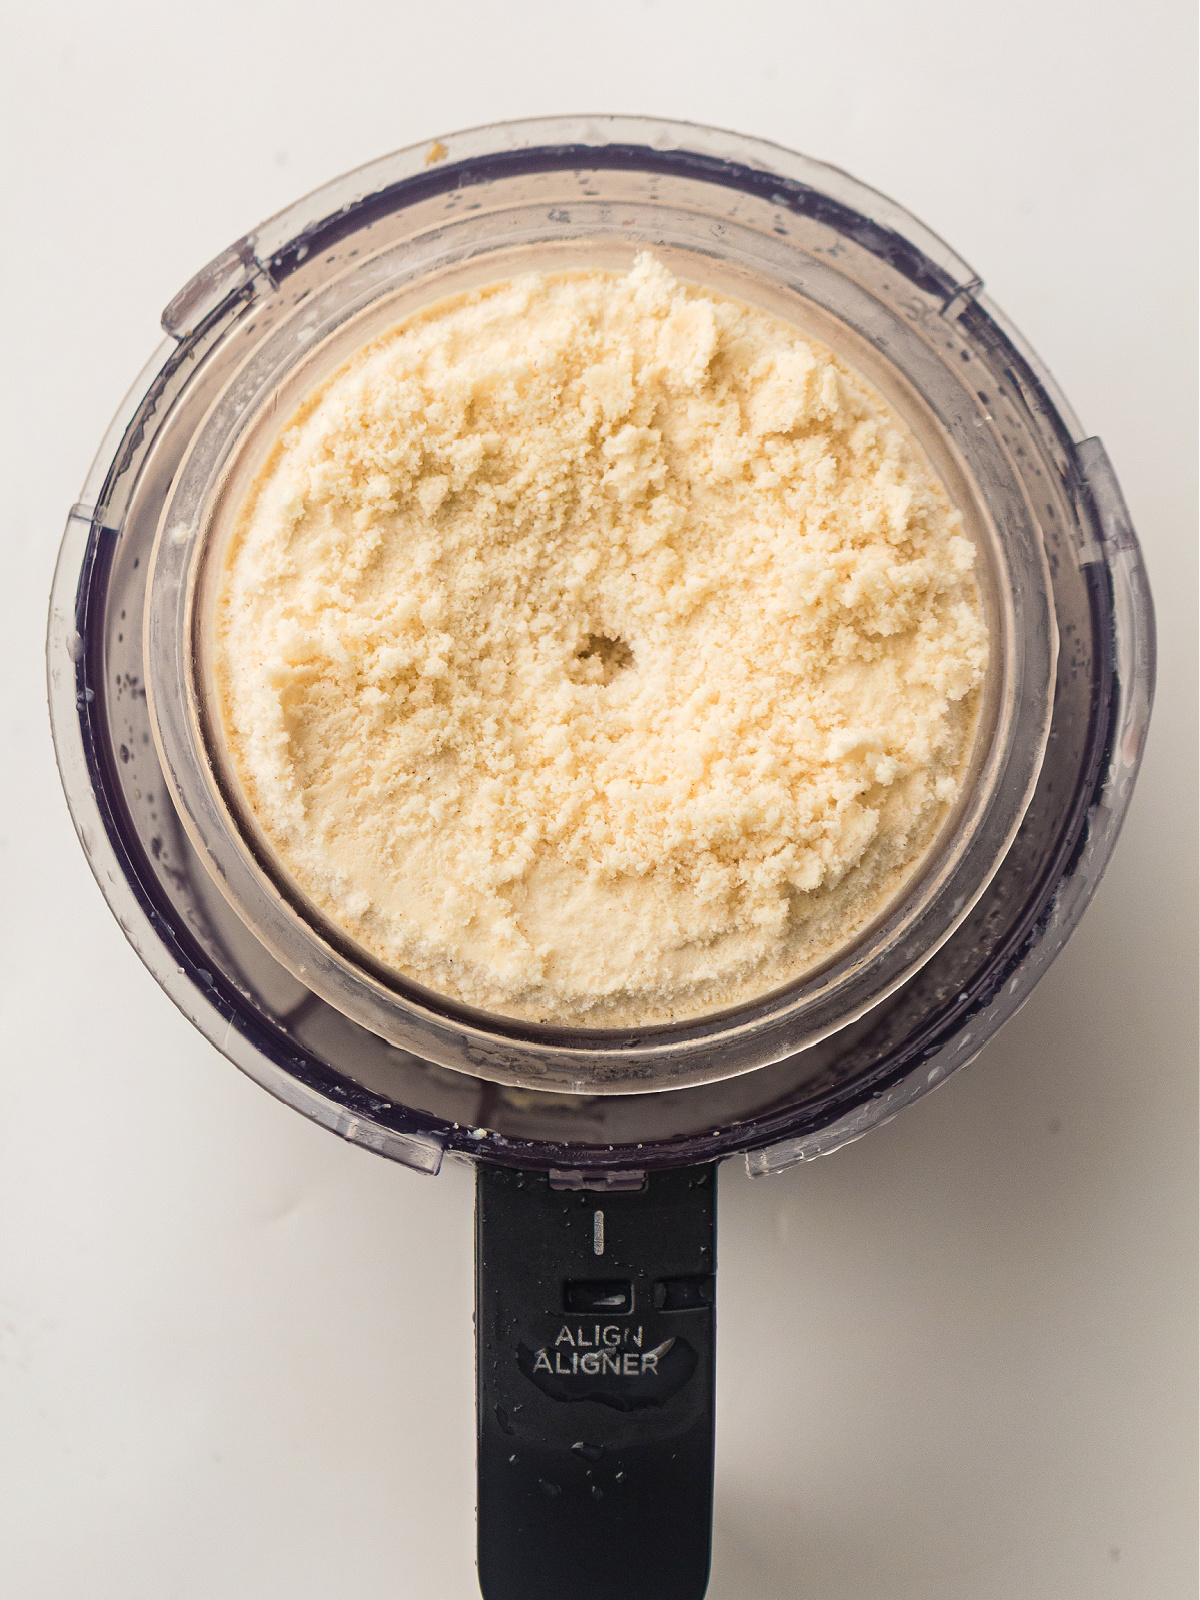
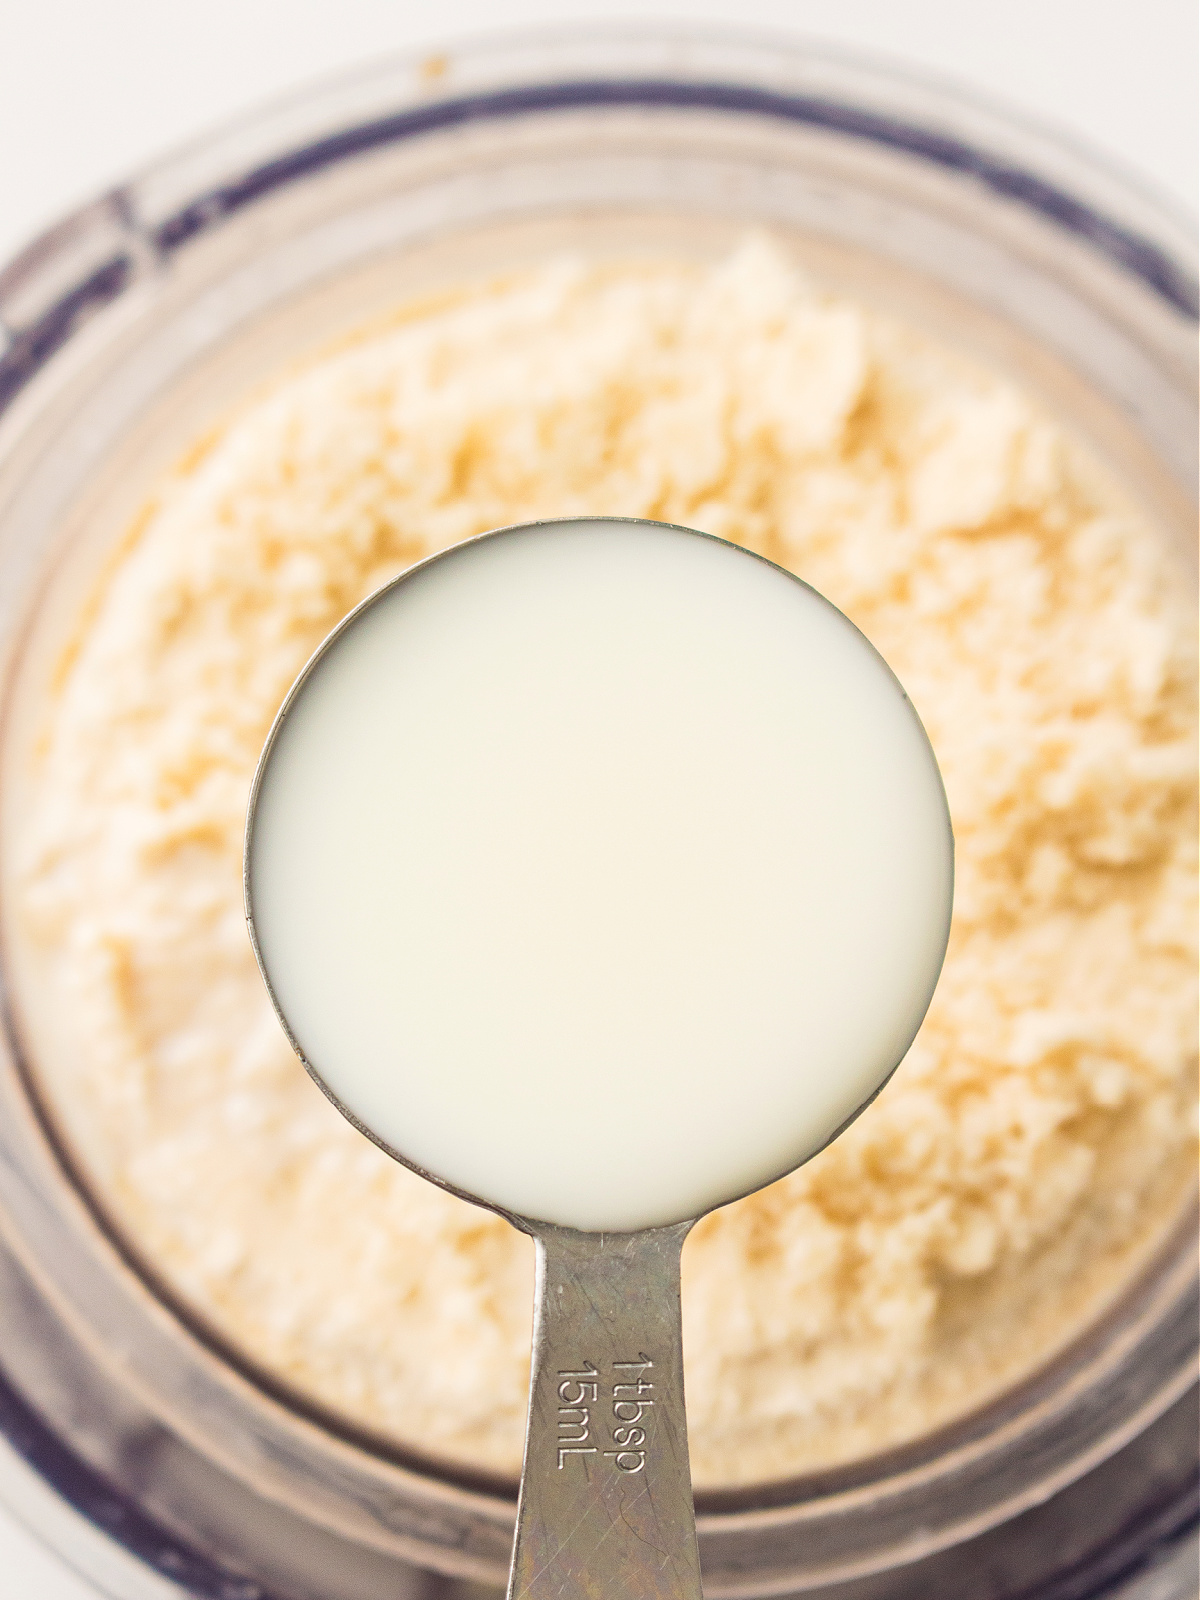
- Add 1–2 tablespoons of milk, if needed, and run the Mix-In cycle until creamy.
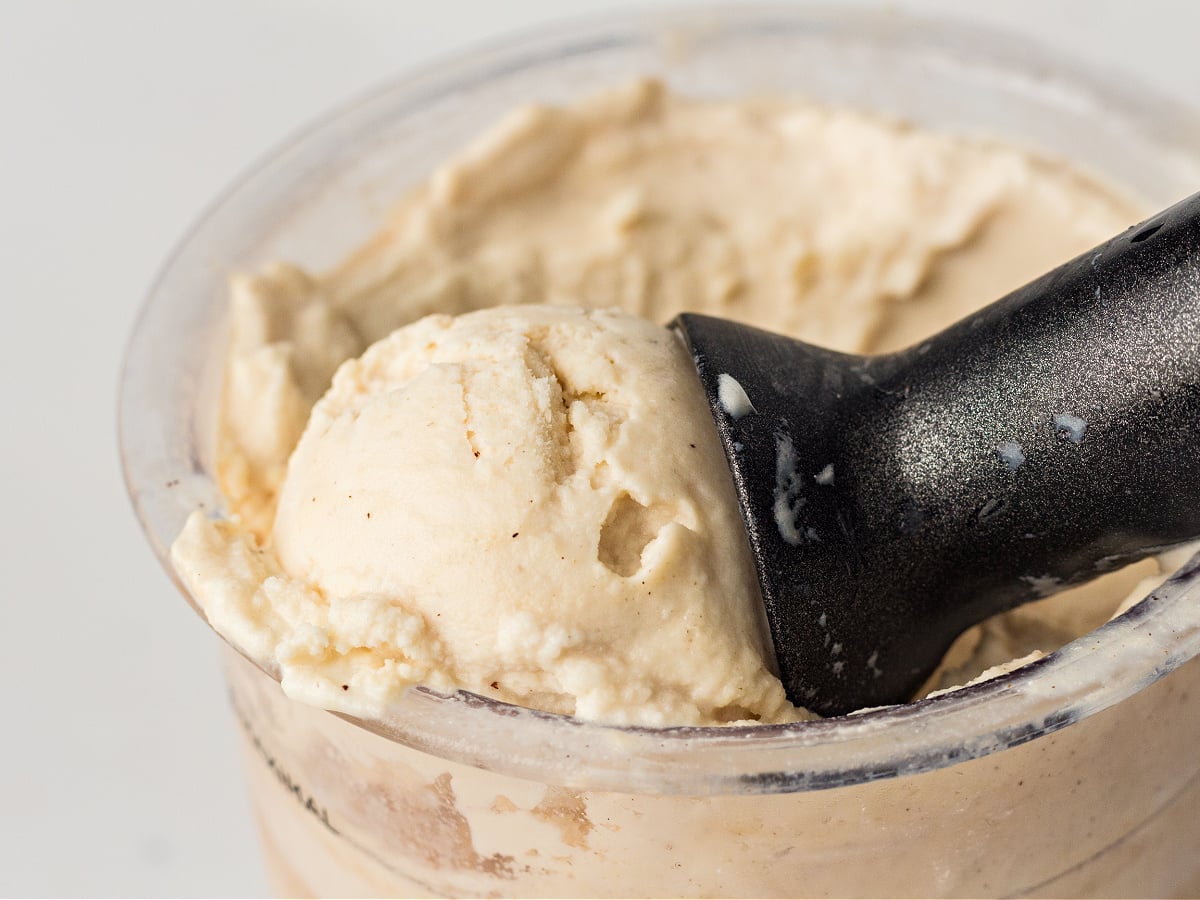
- Scoop and serve immediately.
High Protein Vanilla Ice Cream
Ingredients
Method
- Add the milk, cream cheese, protein powder, powdered sweetener, vanilla extract, and salt to a blender.
- Blend until completely smooth.
- Pour the mixture into a Ninja Creami pint container and top with the lid.
- Freeze for 24 hours, making sure the pint is completely solid.
- Install the frozen pint in the Ninja Creami and run the Lite Ice Cream cycle.
- Add 1–2 tablespoons of milk, if needed, and run the Mix-In cycle until creamy.
- Scoop and serve immediately.
Nutrition
Notes
Tried this recipe?
Let us know how it was!Storage
- Store in the freezer for up to 1 month.
- Let the container sit out for 5 minutes before re-spinning or scooping for the best texture
Serving Suggestions
- Top with fresh berries or crushed cookies
- Drizzle with a teaspoon of melted white chocolate
- Add sprinkles for a fun treat
- Mix in granola for a “breakfast ice cream” vibe
Tips For The Best Texture
- Blend thoroughly. Any cream cheese lumps will freeze into a state of sadness.
- Use a powdered sweetener. Granulated sweeteners don’t dissolve as well, so they can feel gritty.
- Start with the Lite cycle. It’s designed for lower-fat, higher-protein bases.
- Don’t panic if it looks crumbly. A splash of milk + Mix-In usually fixes everything.
- Protein powder matters. Whey blends smoothest; plant-based powders can be thicker and may need extra liquid..
FAQs
You can, but I don’t recommend it.
Yes. Whey protein works best. Plant-based powders may require additional milk during the Mix-In cycle.
You can if you have two Creami containers.
It adds fat and structure, which improves creaminess and prevents icy texture—especially important in high-protein bases.
Last Bite
Leave a comment below and tell me what you mixed into yours—or if you want a chocolate, strawberry, or cottage-cheese–based Creami version next. Or, are you an old-fashioned vanilla ice cream lover?